How to mirror website Avatar Maker using API - recreate functionality on your service
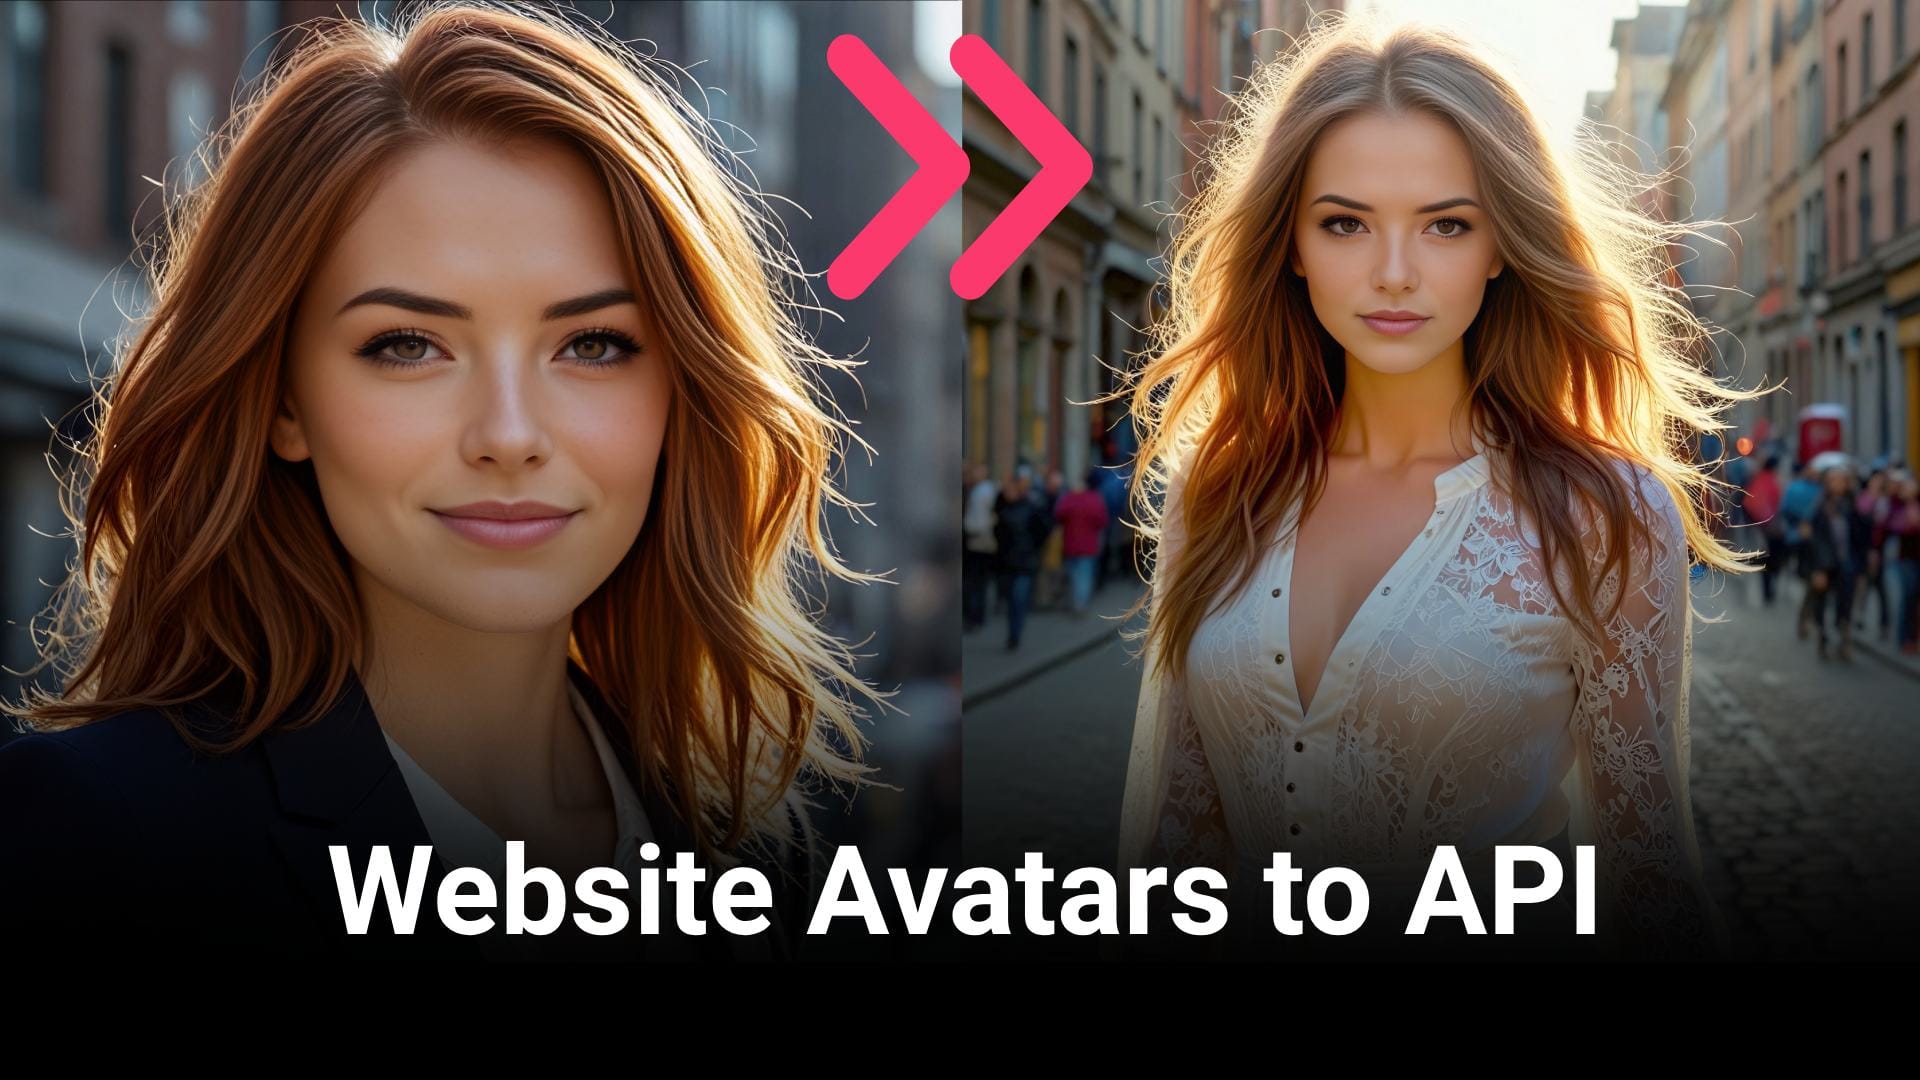
Replicate exactly the same flow for making Avatars from face photo that we have on our website, but with the use of our API

Our Customers very often approach us asking how to replicate exactly the same flow for making Avatars from face photo that we have on our website, but with the use of our API. To make it easier, we decided to create this guide, which is a direct comparison of all the important settings available on the page, turned into code, API calls and a ready made snippet that you can immediately copy and use in your projects.
How to replicate the Avatar Maker from website in the API code
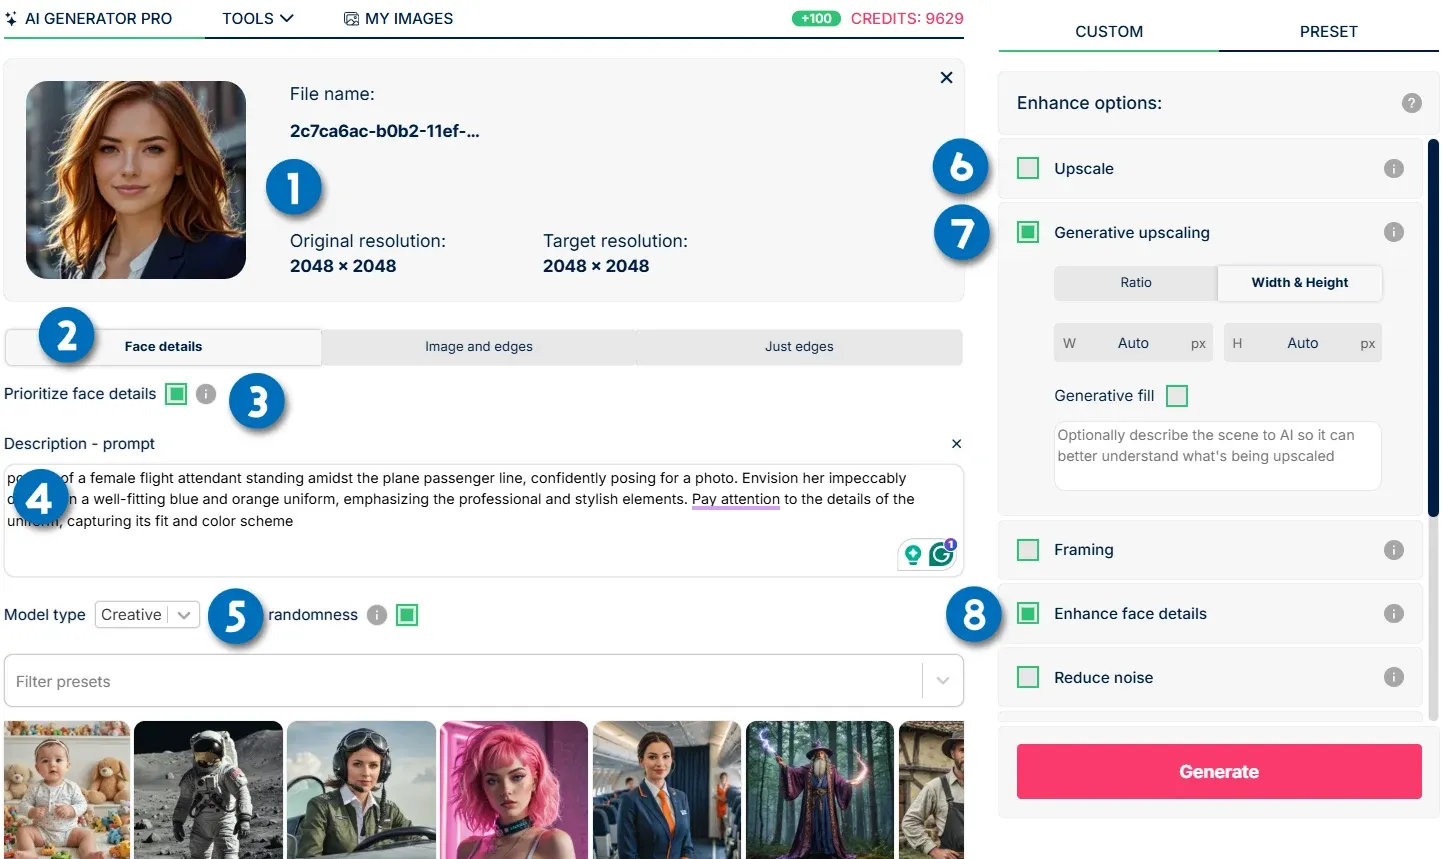
Below is a screenshot with all the important options marked with a number. Each number is explained in detail below the screenshot. Let's begin:

The advanced flow of Avatar Making from our website explained into API calls:
- Upload a photo - it's an URL for the input image. Please remember about guidelines for a good avatar input photo. Uncropped head from either side, nothing covers the face, no glasses, no hood, no hat covering part of the face, best frontal angle, no sides.
"url": "https://deep-image.ai/api-example3.jpg",
- Pick the right adapter type - for Avatars it will be "face". while for example for drawing to image it will be "control2" or "control"
"adapter_type": "face",
- Prioritize face details true/false - while "true", AI will be more creative, but slightly less accurate. For "false" it’s more accurate but less freedom is given to AI
"face_id": true
- Use existing preset template, or write your own prompt for an Avatar
"description": " a woman sitting behind a desk in a modern office environment. her smiling face is seen from behind her computer screen, with only the top of her head and a portion of her shoulders visible. The office space around her is bright and airy, illuminated by soft, natural light streaming in from large windows.",
- Select model type: Realistic/Creative - please note that in API documentation Creative model type is called fantasy.
"model_type": "fantasy"
- Classic upscale and size setup - image will be upscaled to a set resolution. So it's function is not only to upscale, but also to give instruction about image dimensions. You can make a square, portrait photo or a landscape one, depending on what you put in width & height.
"width": 2048,
"height": 1024,
- Generative Upscale and size setup - Generative upscale gives more intricate details and better overall quality, but might reduce the face accuracy a little bit.
"generative_upscale": true
"width": 2048,
"height": 2048,
- (OPTIONAL) Enhance face details - there are two types of face enhancement. beautify (default one) and beautify-real (great for high-resolution images)
"enhancements": ["face_enhance"],
"face_enhance_parameters": {
"type": "beautify-real"
}
Example code for a configuration for Avatar Maker:
Let's assume that we will use the following setup for our Avatar. And below you can see the code mirroring all the functions in bullet points:
- Avatar from a face based on uploaded photo
- prioritize face details “true”
- custom description prompt
- model type “creative”
- generative upscaling 2048x2048
- enhance face details “off” (Avatars already enhance faces a bit through the process, so it’s not necessary
{
"url": "https://deep-image.ai/api-example3.jpg",
"generative_upscale": true,
"width": 2048,
"height": 2048,
"background": {
"generate": {
"description": "Professional fashion sesssion of a female model on a city street",
"adapter_type": "face",
"face_id": true,
"model_type": "fantasy"
}
}
}

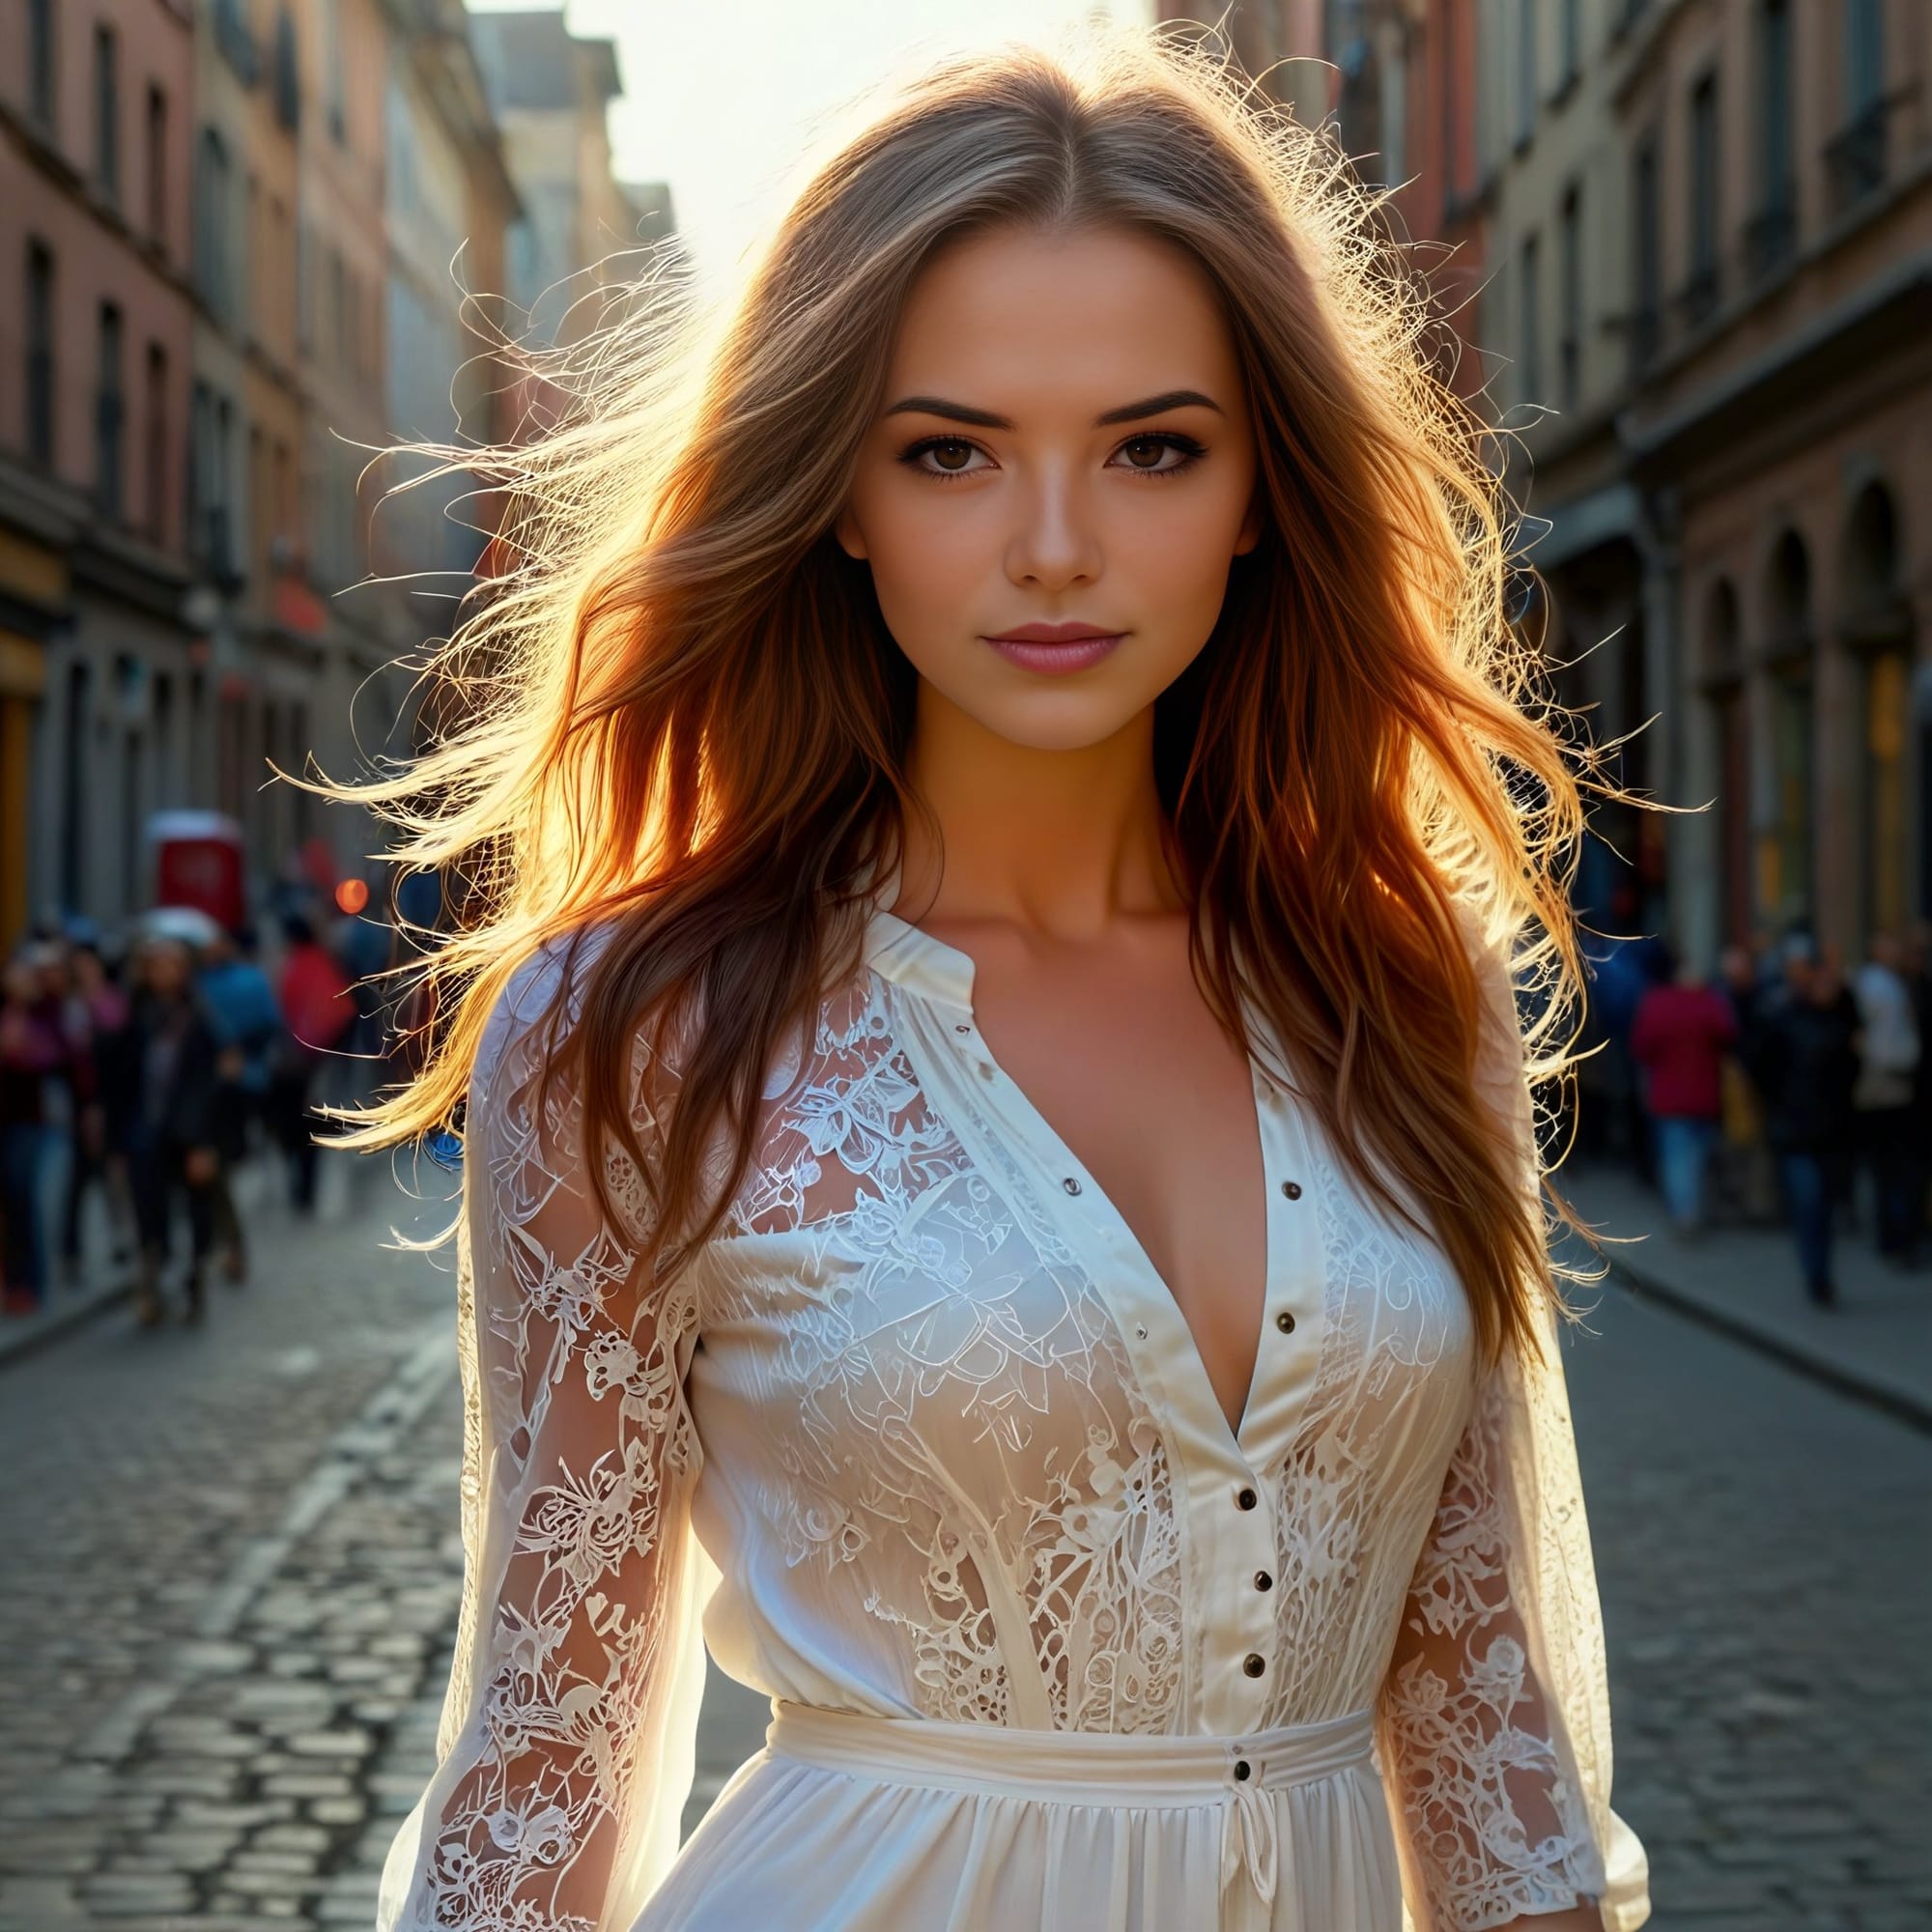
And here is our end result for an example Avatar made using the API code, while mirroring exactly the same workflow we would use through the website application.
I hope this guide will help to faster implement and successfully run Avatars in your project. Please remember, that if you have any issues or struggle with part of the process, we are available for consultations, and our Support work 5 days a week during office hours CET Timezone.

