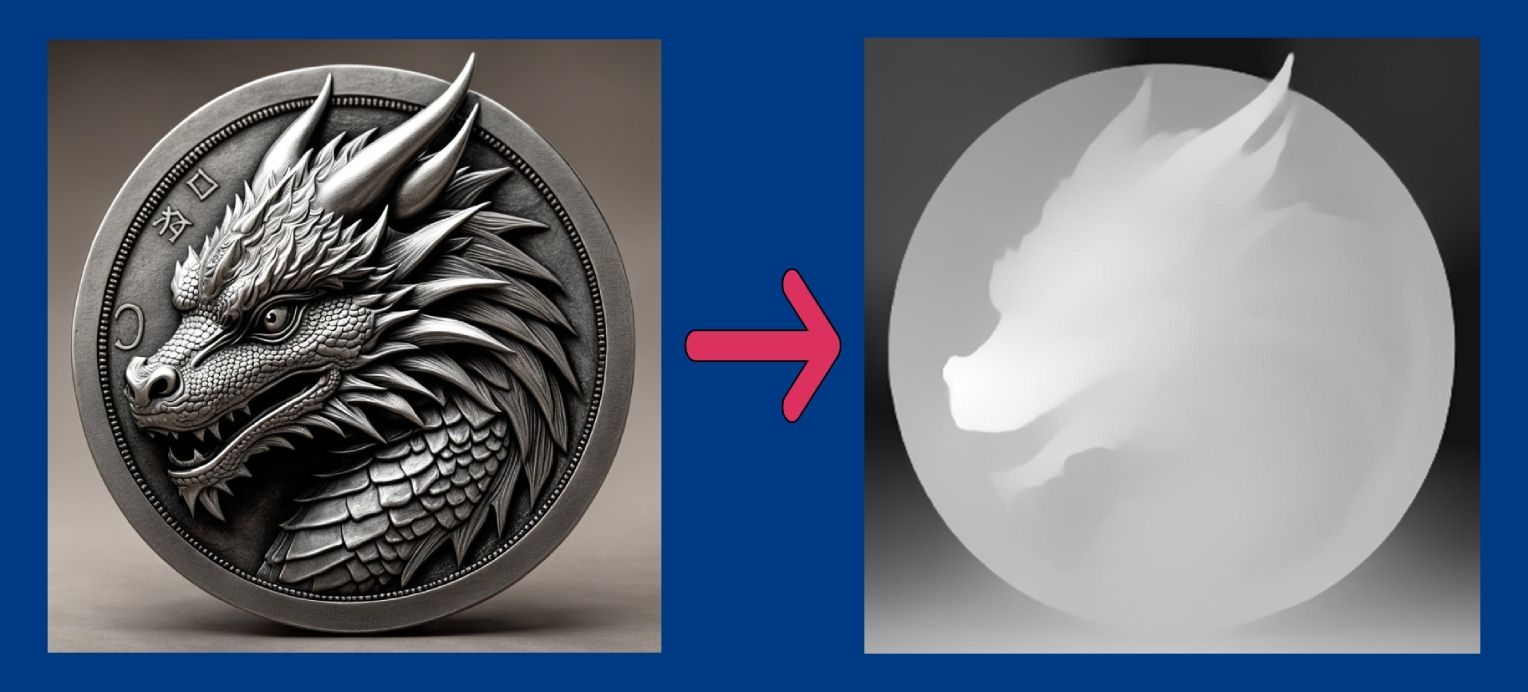
How to prepare AI generated images for 3D laser engraving
create stunning, 3D engrawings on many types of materials. With meticulous details. Today we will learn, how to generate an image using deep-image.ai AI Generator, and later make a depth map for the same image. So let's get started!

Laser engravings seems to be relatively easy to access business opportunity. If you have a little bit of budget for good engraving laser machine, and a little bit of will to learn about preparing instructions for the laser to do it's work, you can create stunning, 3D engrawings on many types of materials. With meticulous details.
Today we will learn, how to generate an image using deep-image.ai AI Generator, and later make a depth map for the same image. So let's get started!
- Generate an image in AI Generator:

2. Once you will generate your image, to make sure there is no unnecessary pixels, you can remove the background. To do so, you need to go to AI Enhancer, upload your generated image and mark "Remove background". Also in the last option, you should chose .PNG image, as JPEG don't support transparency. Your effect should look more or less like this:

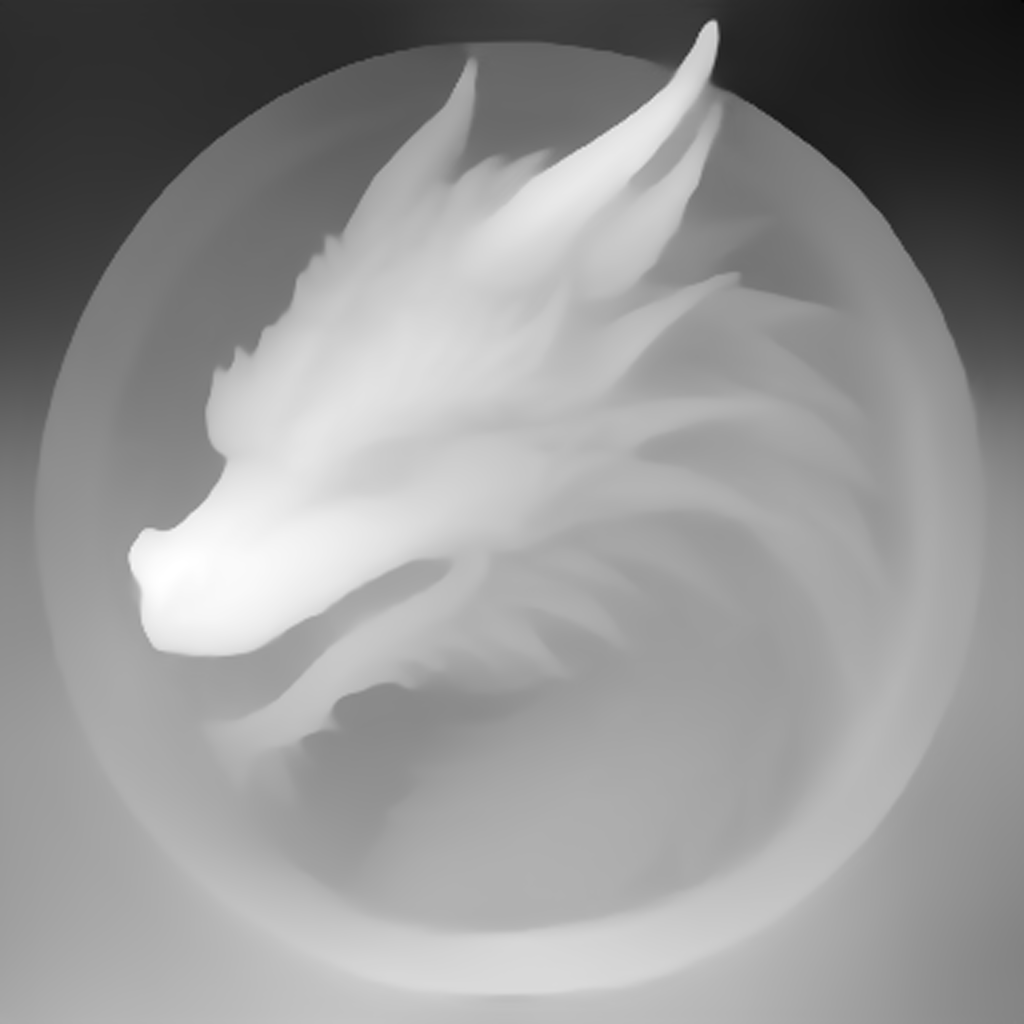
3. Image is now ready to get depthmap out of it. In order to do so, you have a few choices. If you know a little bit about Github, you can go here and generate it yourself. Altgernatively, you can use one of many free online web generators. For our image we have the following result:

4. With such depthmap you should be good to go and work on your laser engravings
Remember, that you can still process all the images in deep-image.ai. You can easily upscale all images, remove noise, enhance edges to make them pop, or remove background to make sure it will not distort your results. Feel free to experiment with various settings to see, which options give the best results for your specific setup.
Don't forget to have fun while doing this, and we wish you have great results!

