Guide Step By Step - Batch Uploading From Google Drive in Deep-image.ai

Deep-image.ai is a state-of-the-art image analysis and recognition tool that uses artificial intelligence and machine learning algorithms to enhance and streamline your image processing tasks.
With its batch upload feature, Deep-image.ai makes it easy for users to upload large numbers of images from cloud storage platforms like Google Drive and quickly analyze and enhance them.
In this article, we will walk you through the steps to use the batch upload feature with Google Drive as the source and destination. We will also cover how to verify the links for correctness and availability.
Instructions
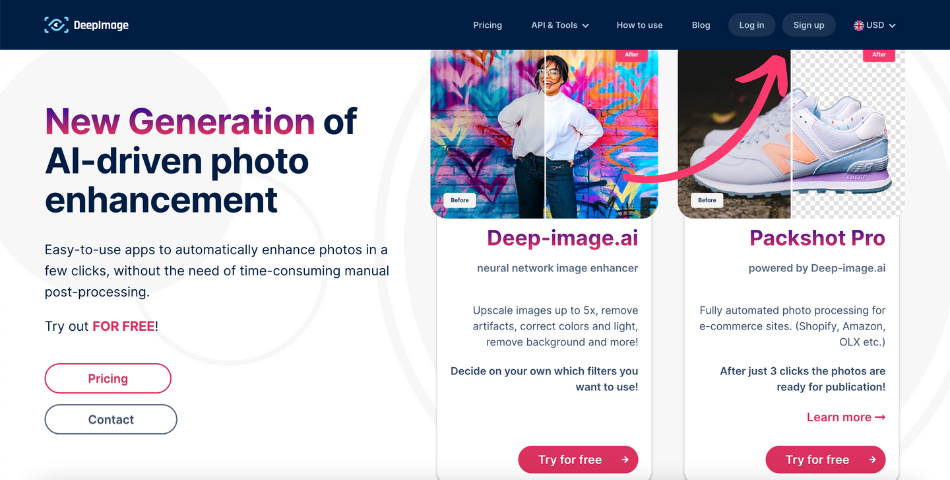
Step 1: Sign up and Log in
Before you can start using the batch upload feature, you need to sign up for an account on Deep-image.ai. Simply visit the Deep-image.ai website, click on the "Sign up" button and follow the prompts to create your account.
Once you have created your account, log in to the Deep-image.ai application using your credentials.
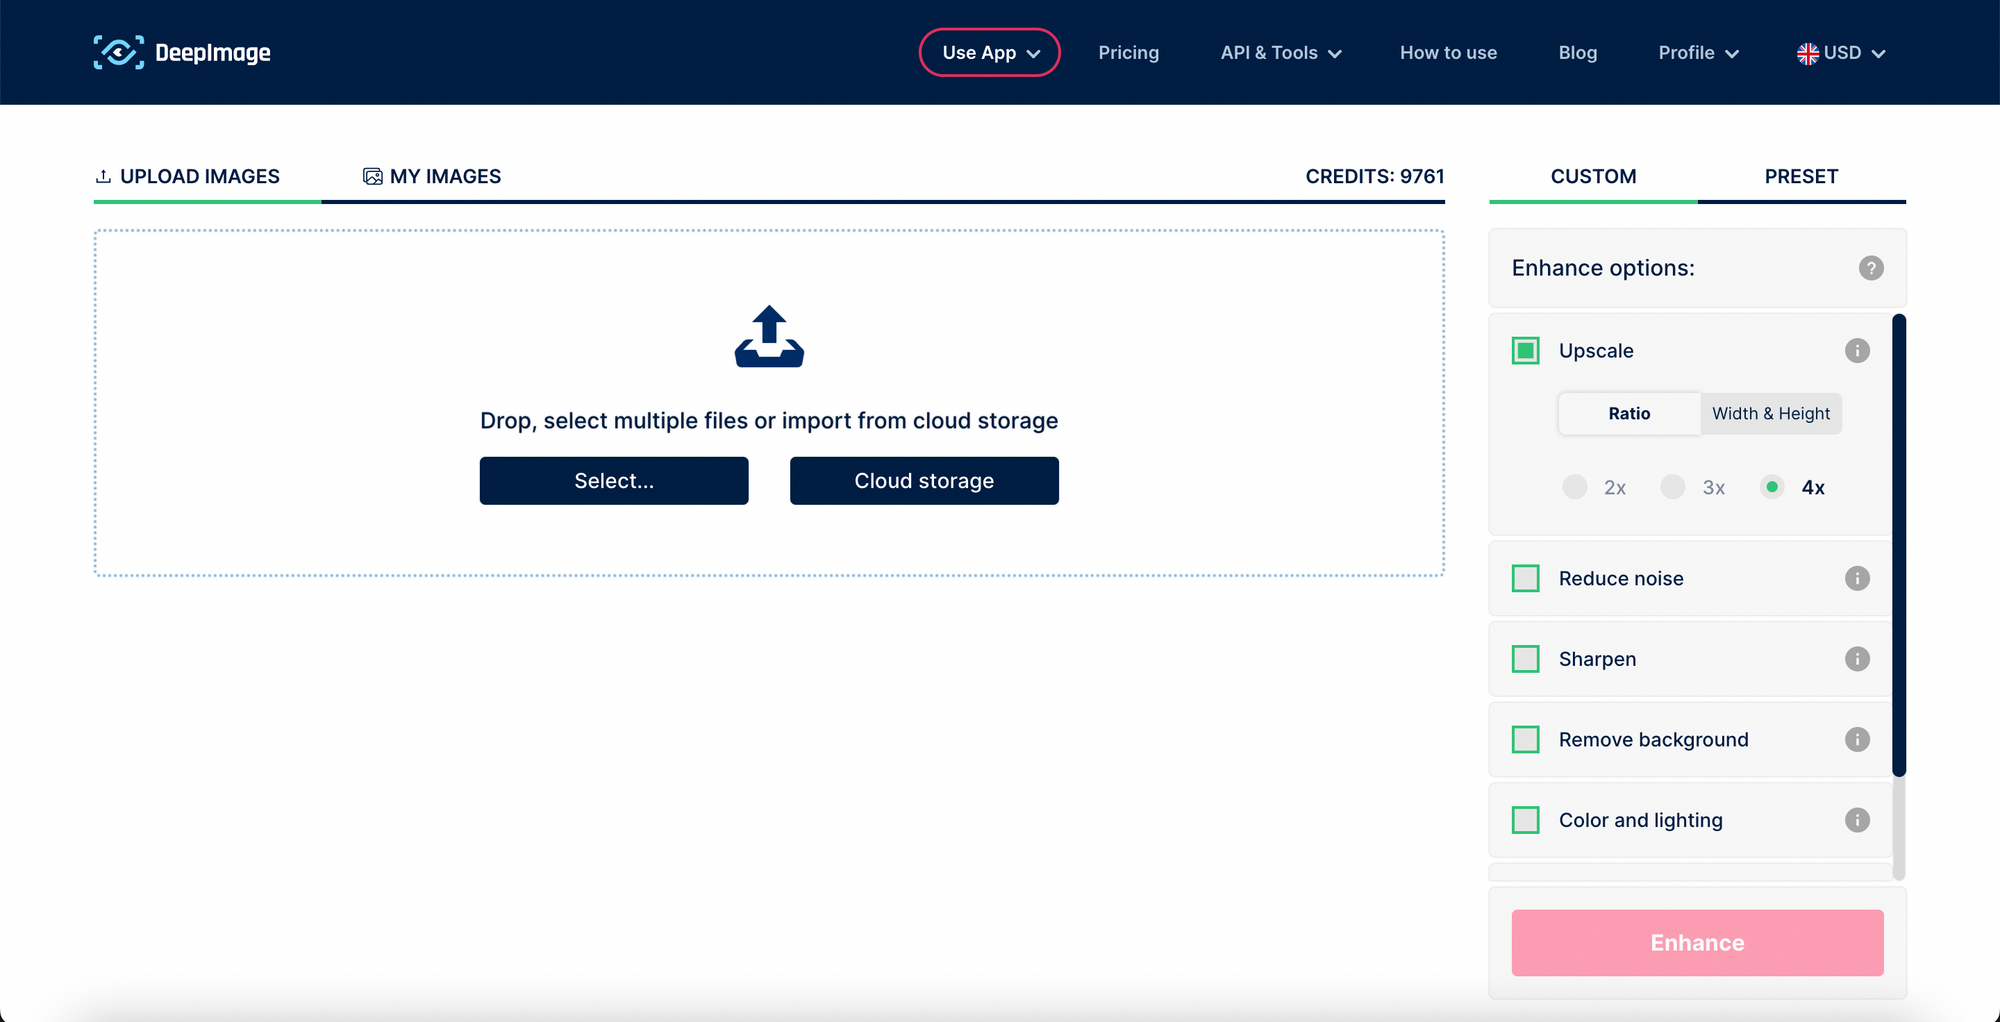
Step 2: Select Batch Upload
Once you have logged in, you will be taken to the main dashboard of the Deep-image.ai application. From here, click on the "Use app" and choose Deep-image.ai button located in the navigation at the top of the screen. This will open a panel for you to select a single photo or batch upload by "Cloud storage".
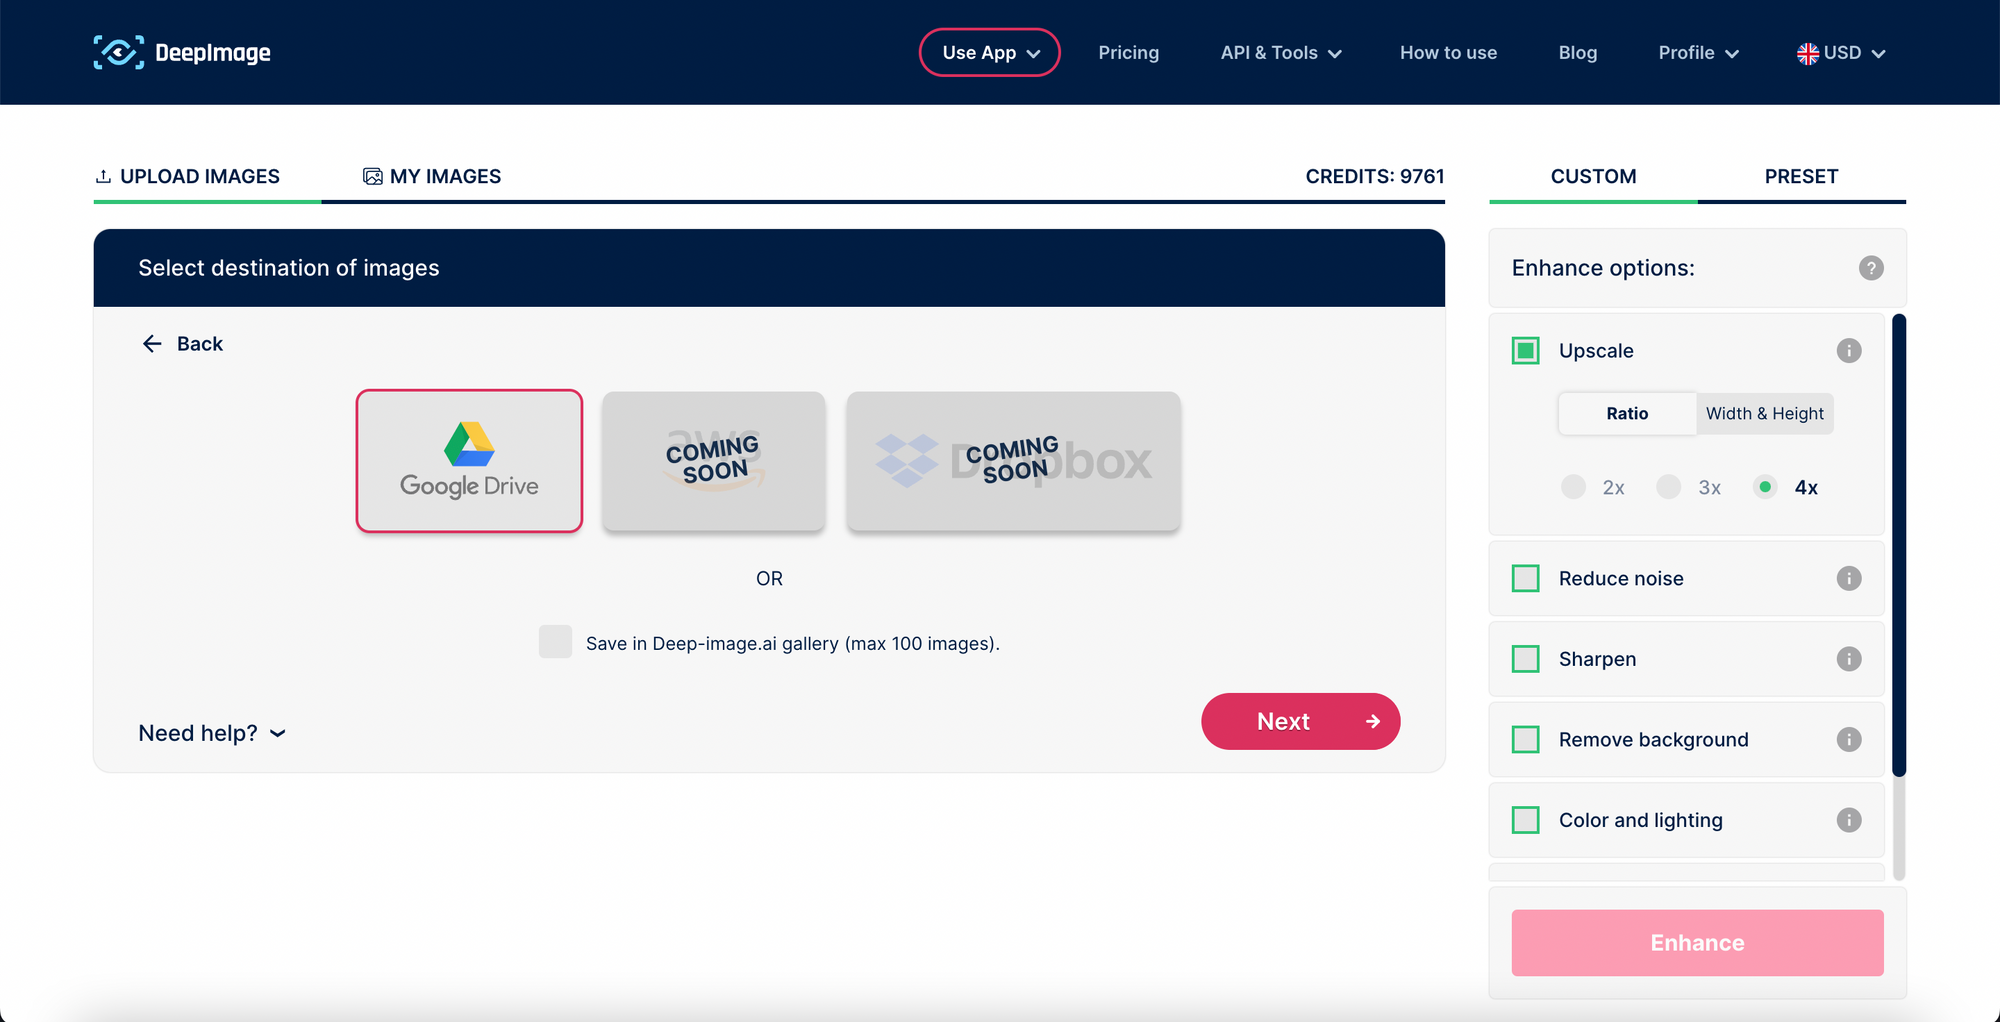
Step 3: Choose Google Drive
After clicking the "Cloud storage" button, select Google Drive as the cloud storage platform for the source links. Follow the prompts to connect your Deep-image.ai account to your Google Drive account.
If there are no more than 100 photos in your folder, you can check to save the corrected photos in the Deep-image.ai gallery instead of the Google drive folder. New cloud storage platforms will be available soon!
Step 4: Provide Source Link
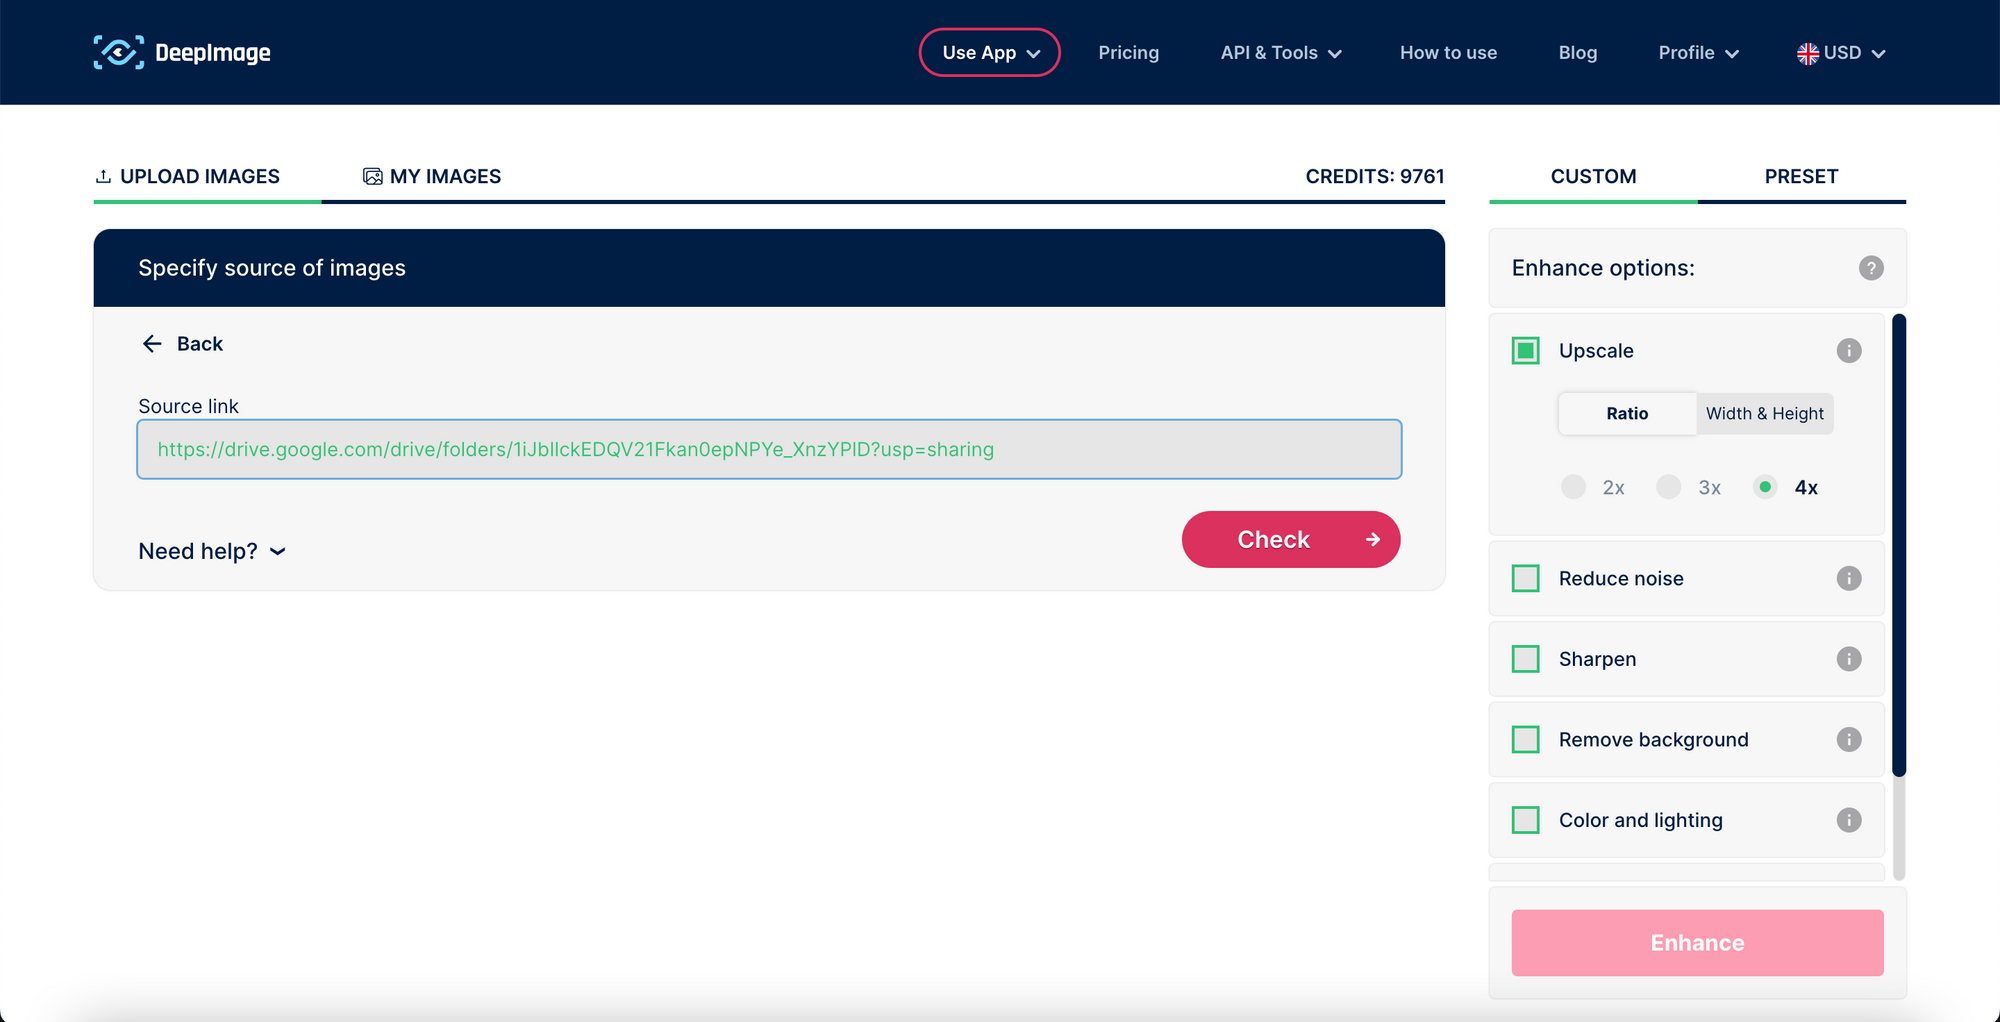
Next, provide the source link to the Google Drive folder containing the images you want to upload. Make sure to verify that the link is correct and available before proceeding.
Remember that in order for Deep-image.ai to download images for improvement, the link must be shared with editing rights!
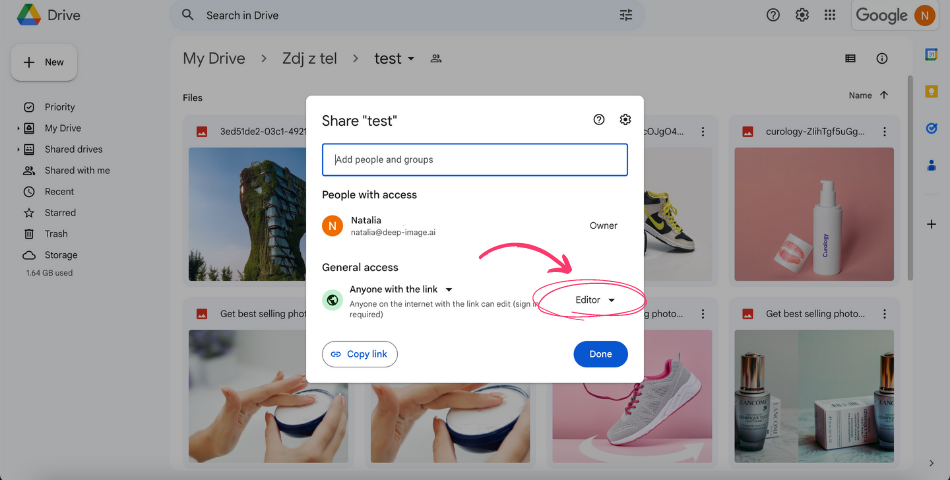
Once you've given editing rights to anyone with a Google Drive link, paste the link with the photos you want to enhance into the frame. Then click "Check."
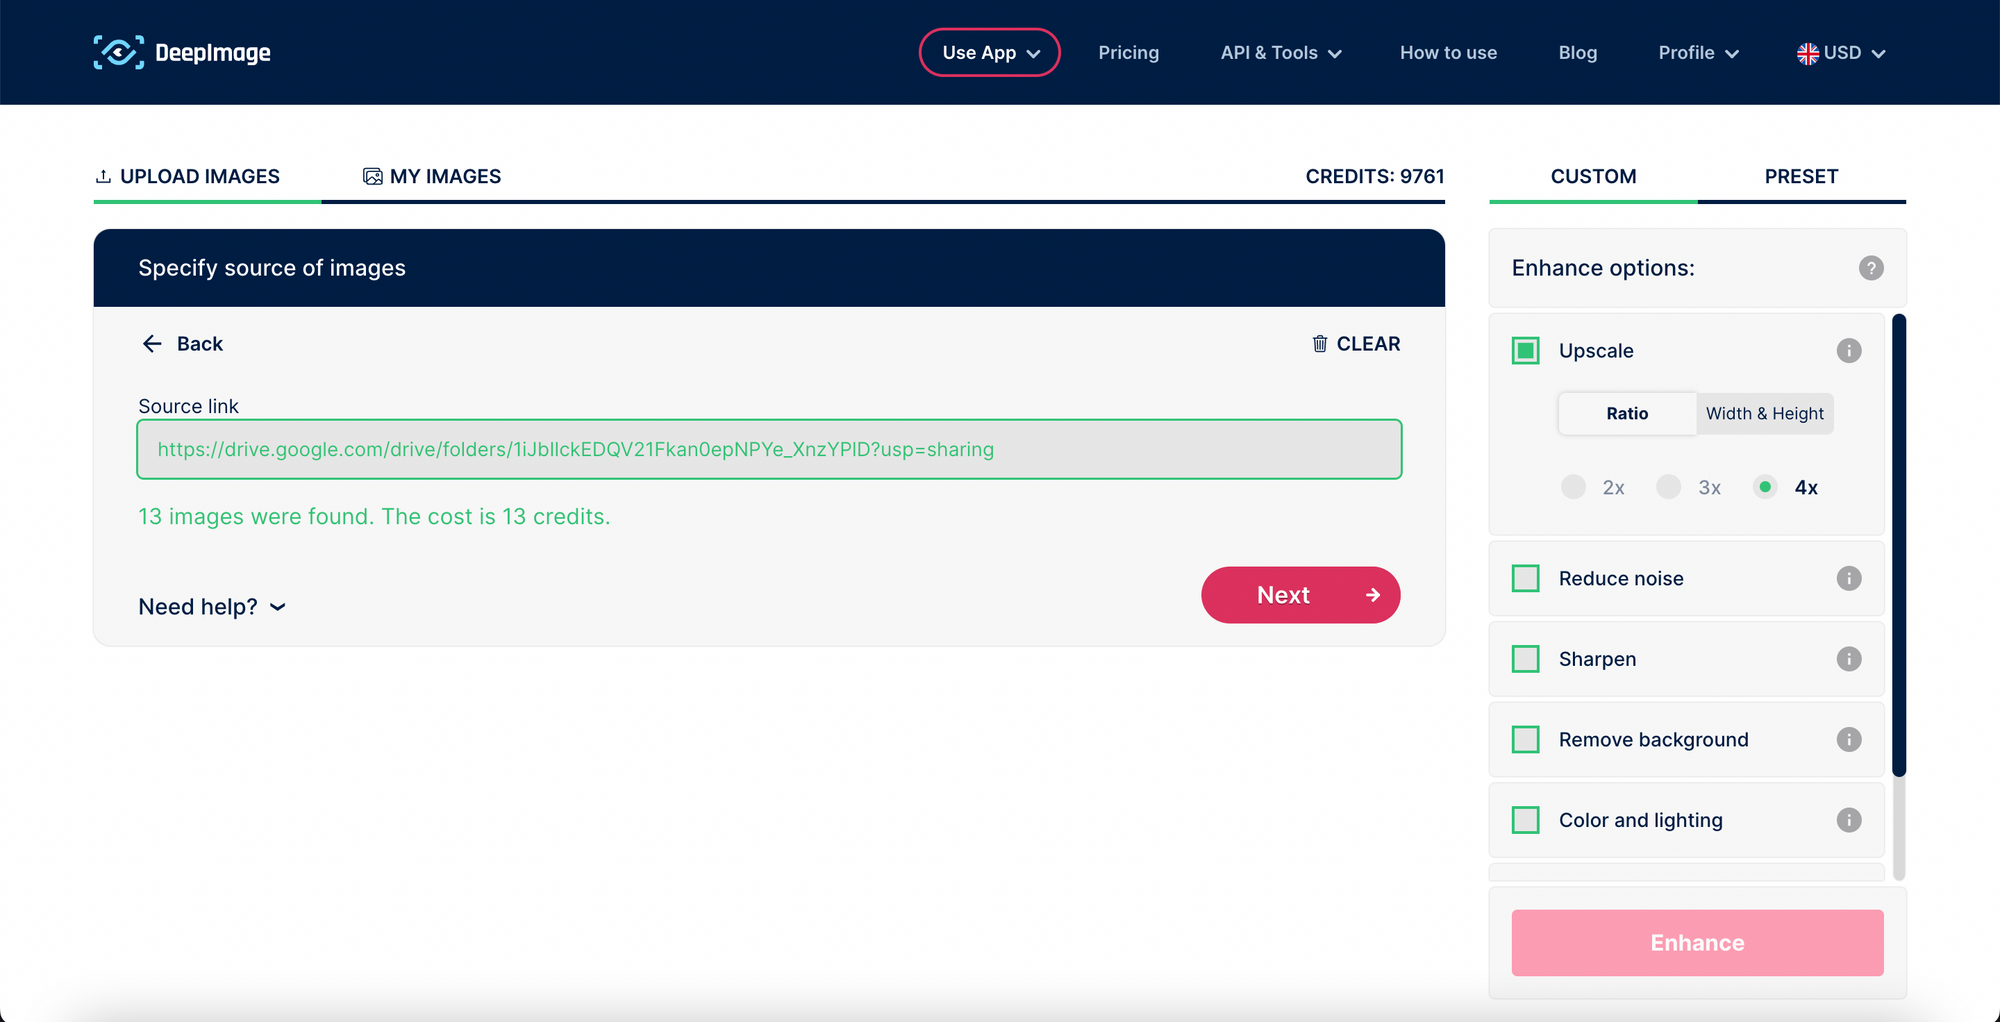
If everything is correct, you will get information about the number of photos that Deep-image.ai found in your Google Drive folder. You will also find out how many credits it will cost you to transform them.
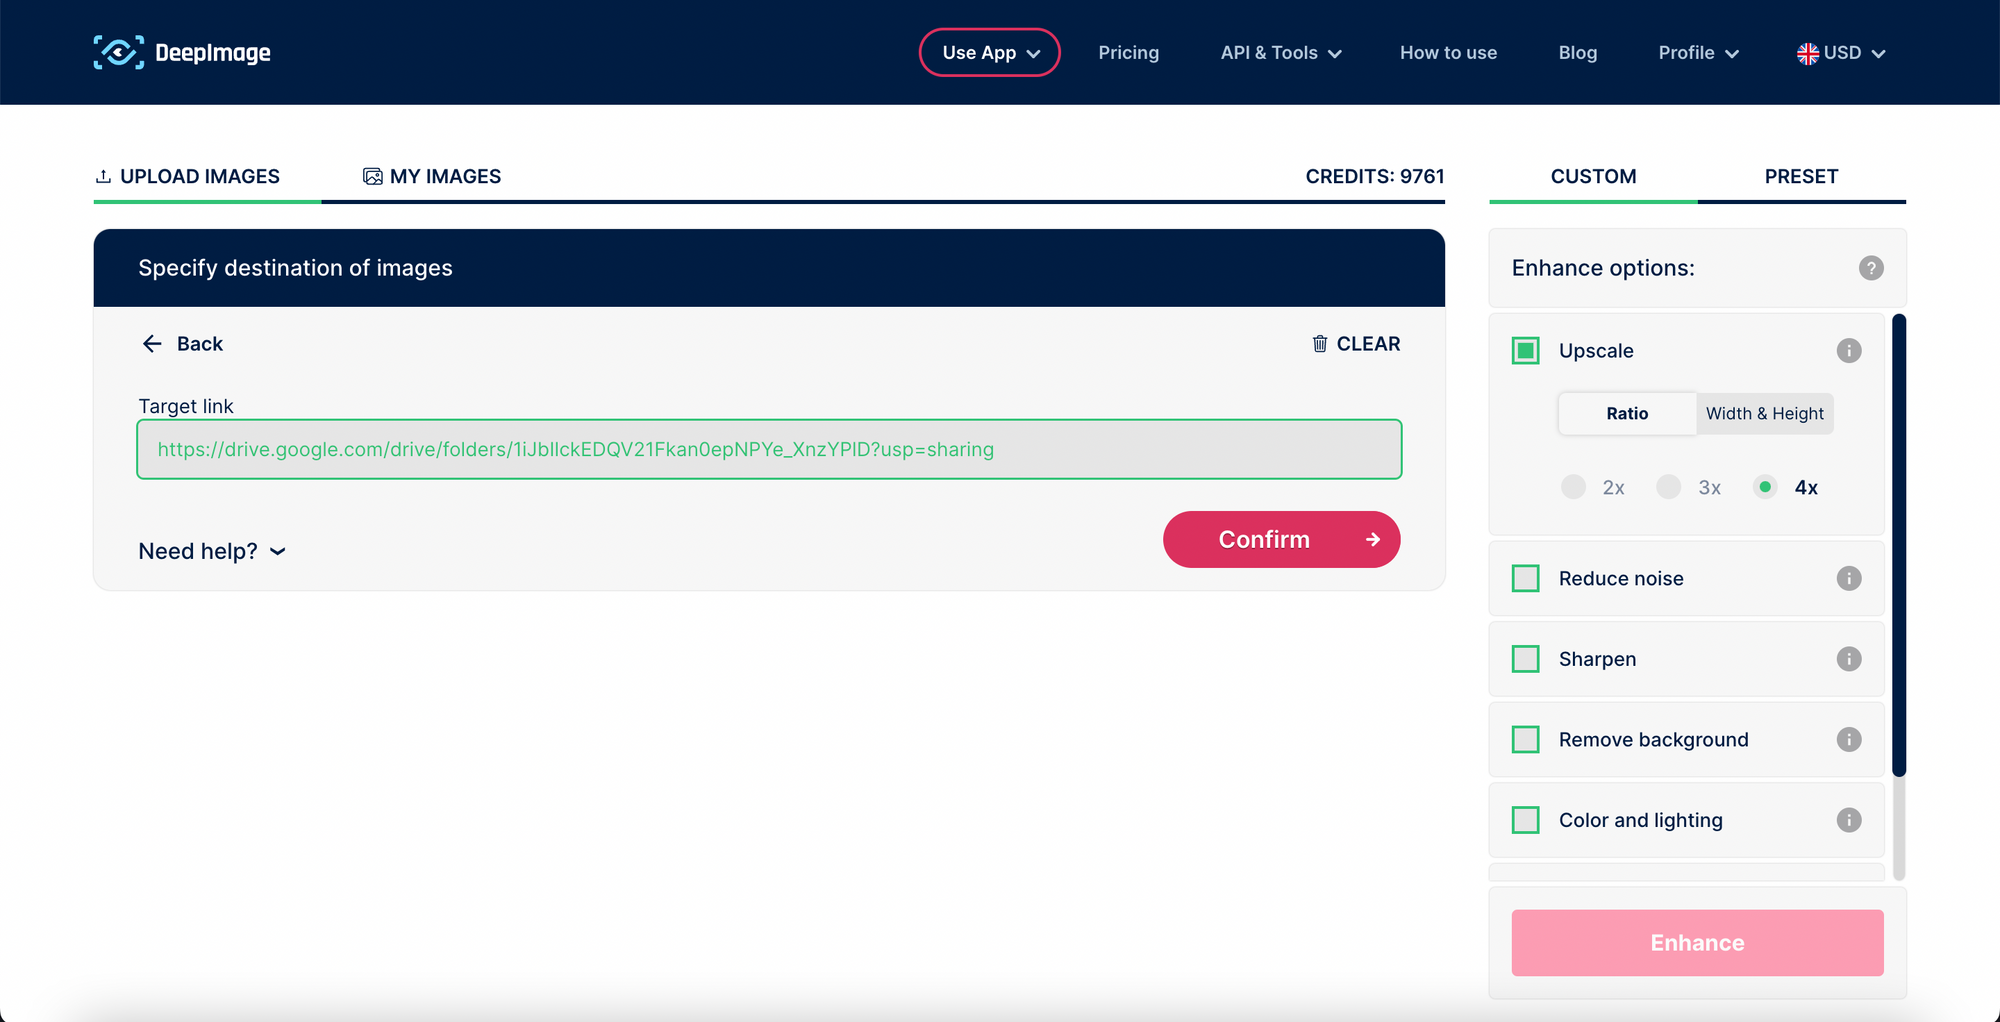
Step 5: Provide Destination Link
After providing the source link, provide the destination link to the Google Drive folder where the enhanced images will be uploaded. Verify that the link is correct and available before proceeding. The same as the source link.
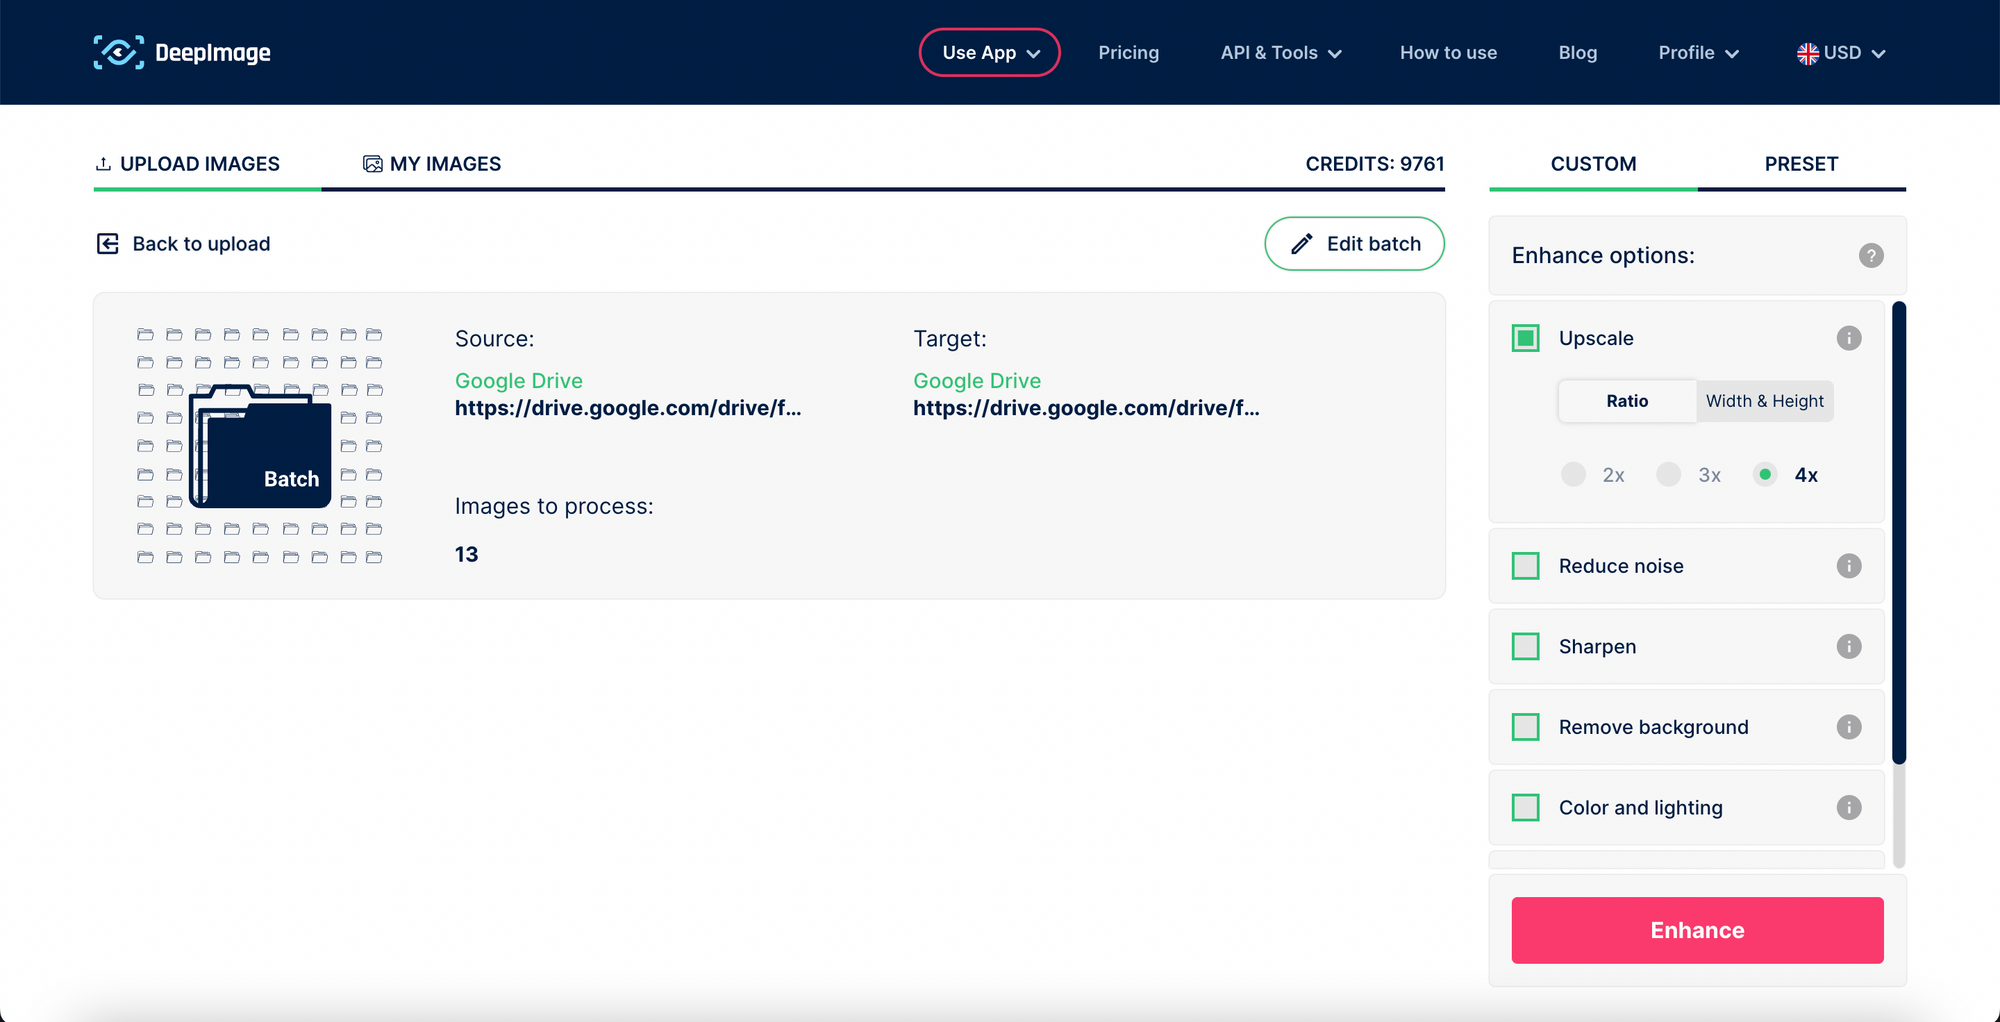
Step 6: Configure Settings
Once you have provided the source and destination links, you will be able to configure the settings for the batch upload process. These settings include options for image size, color space, file format, and more.
Configure the settings based on your needs and preferences. You will also see all the information about the source link, target link and the number of images that will be processed. There you can also edit your batch if you need to.
Step 7: Upload and Enhance
After configuring the settings, click the "Enhance" button to start the batch upload process. Deep-image.ai will automatically download the images from the source link and analyze them based on the configured settings. The enhanced images will be uploaded to the destination link. When you click "Enhance," you will be redirected to the gallery, where you can monitor the processing progress on the fly.
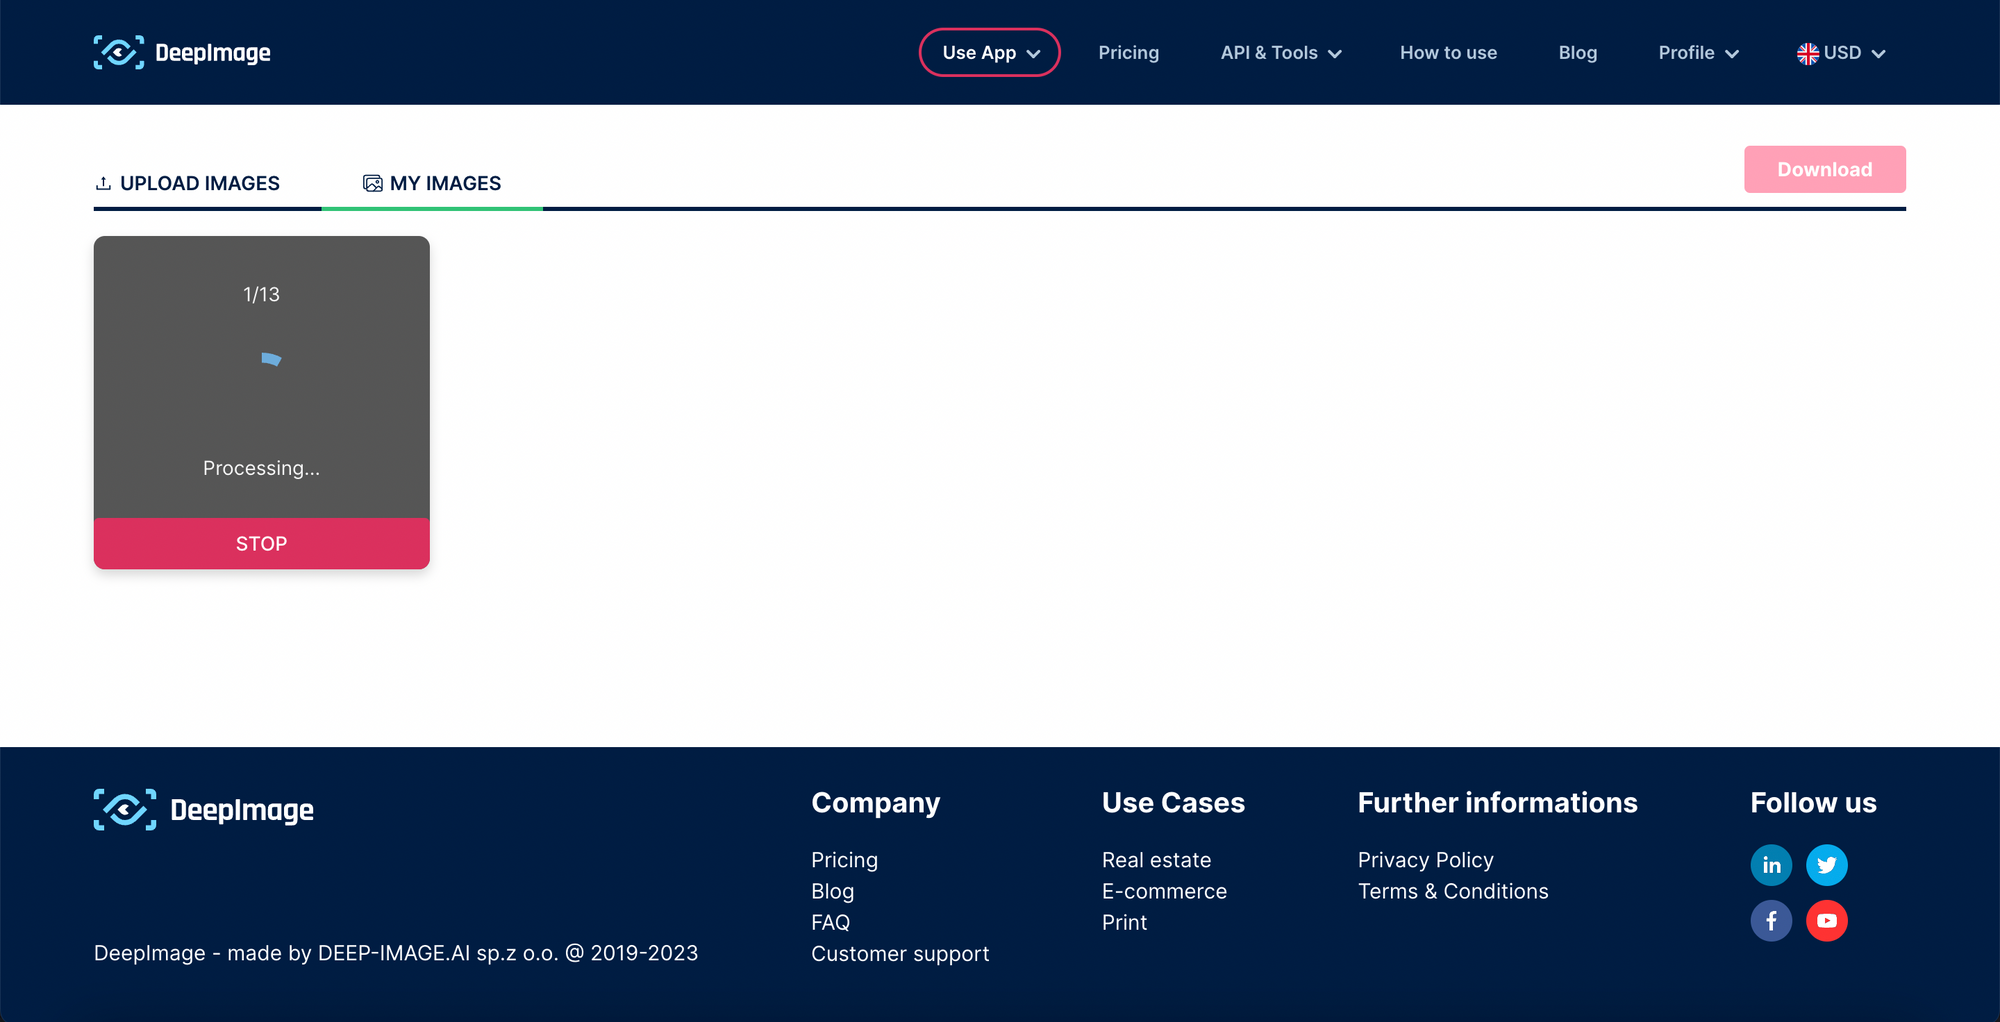
Step 8: Stop proccessing
When you click "Enhance," you will be redirected to the gallery, where you can monitor the processing progress on the fly. If necessary, you can press "Stop" at any time. When you then click on the icon with "Batch" you will find information on how many photos were transformed and how many credits it cost.
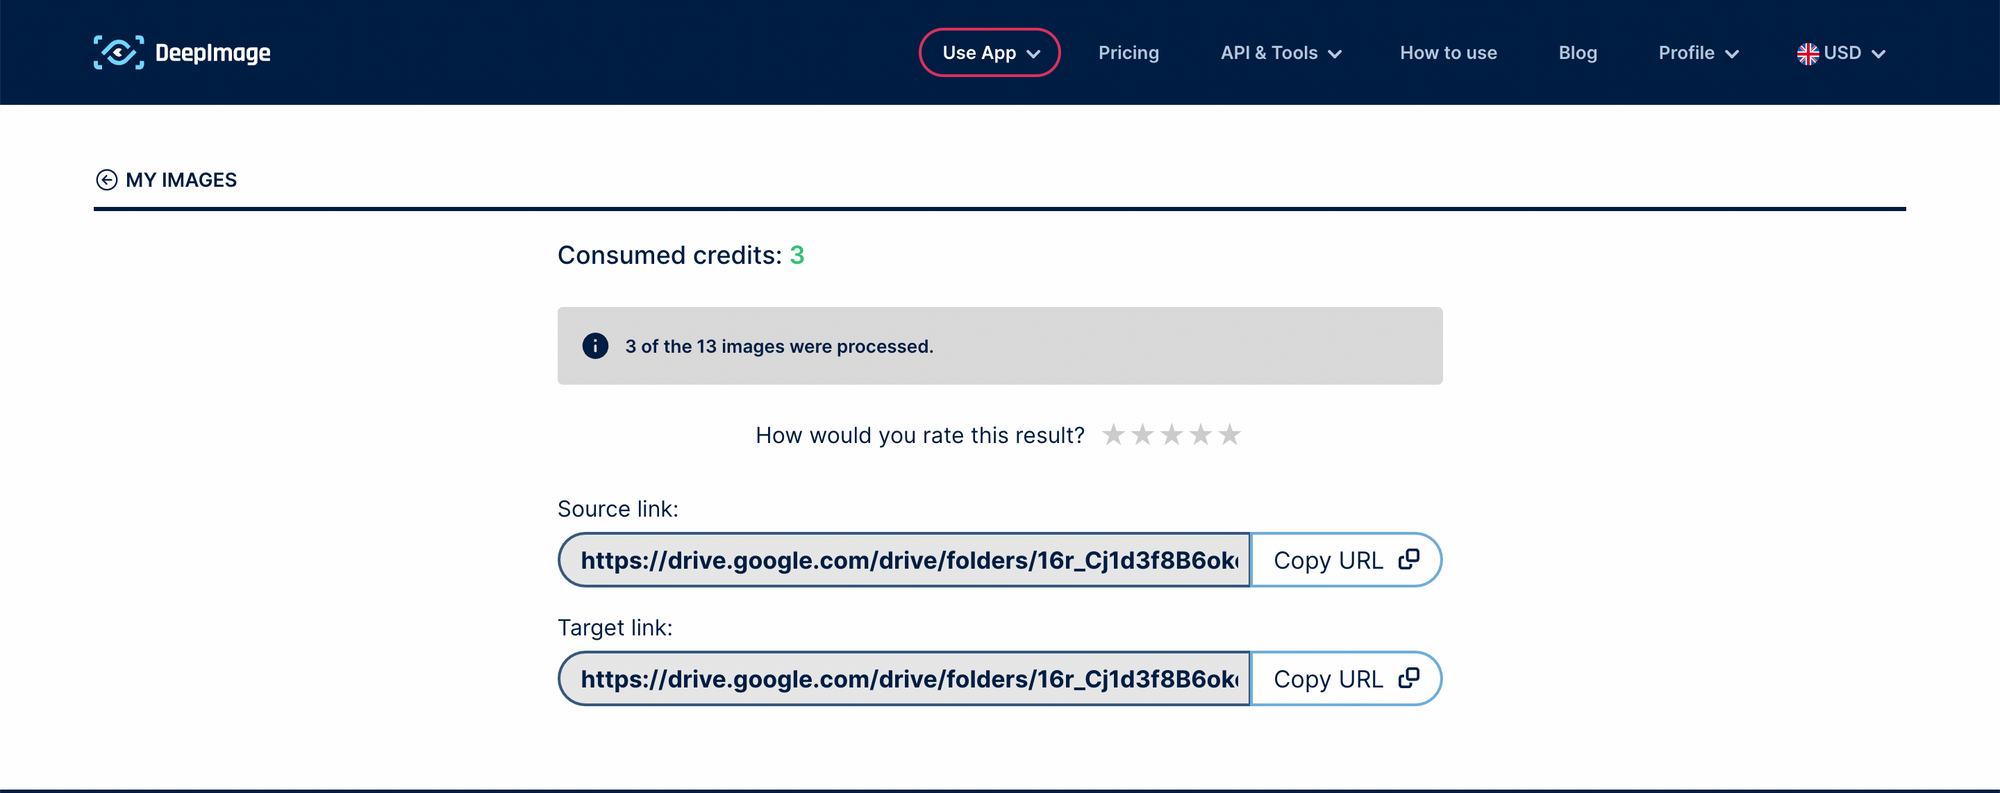
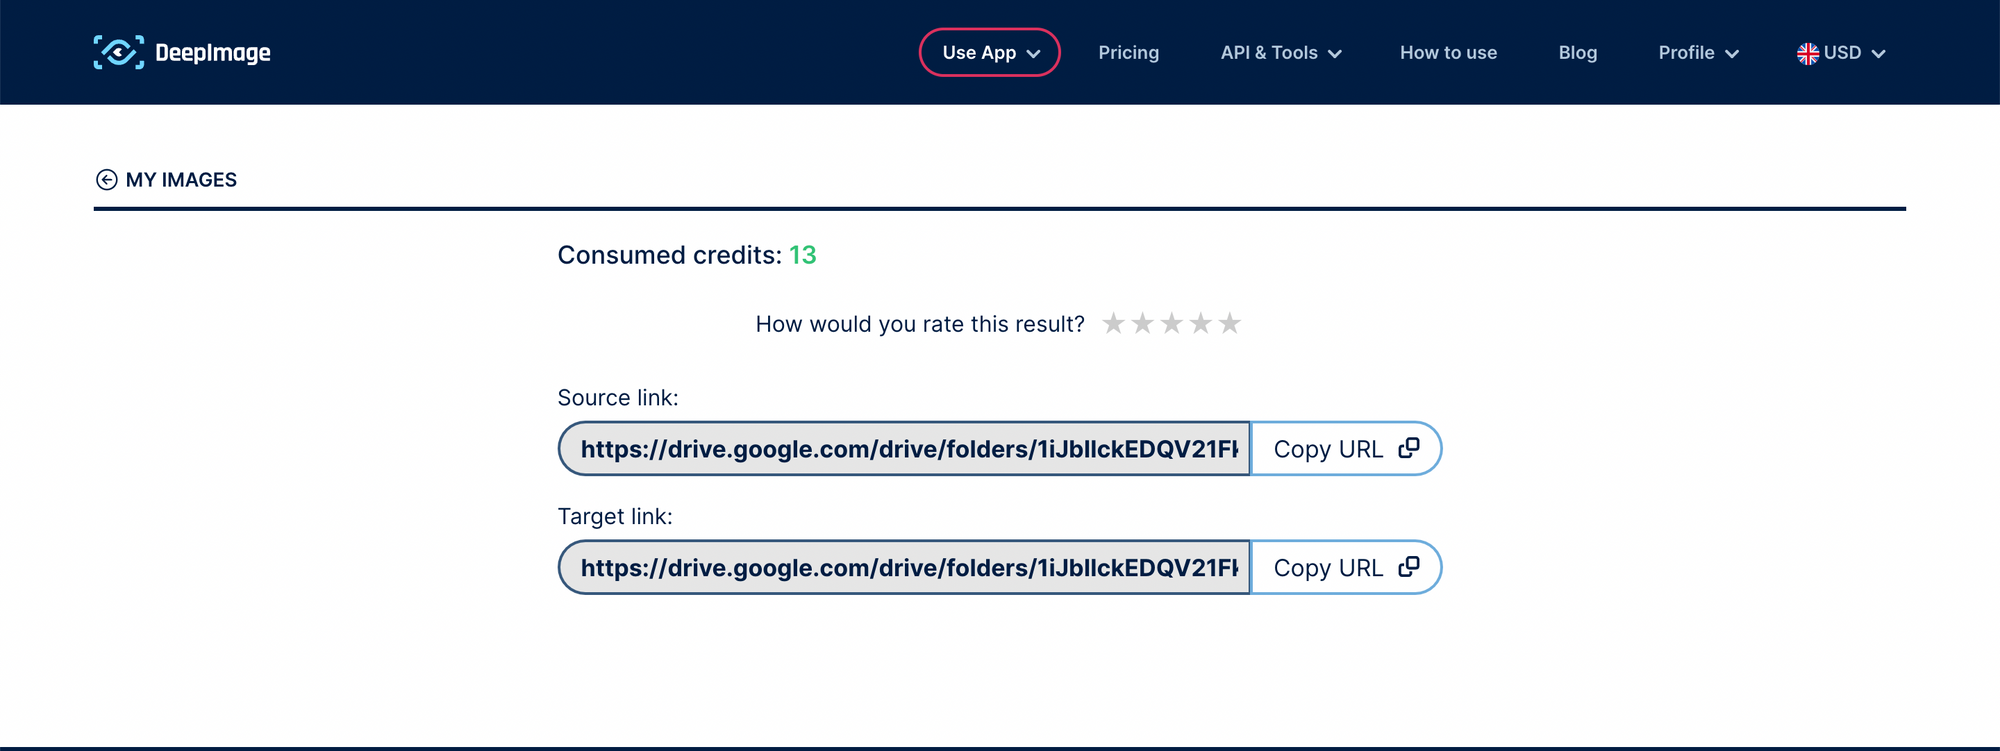
Step 9: Review Results
Once the batch upload process is complete, you can view the analysis results in the target Google Drive folder. If you click on the "Batch" icon in the Deep-image.ai gallery, you will see information about the number of images that have been transferred, as well as the source link and target link. You can rate the results by number of stars.

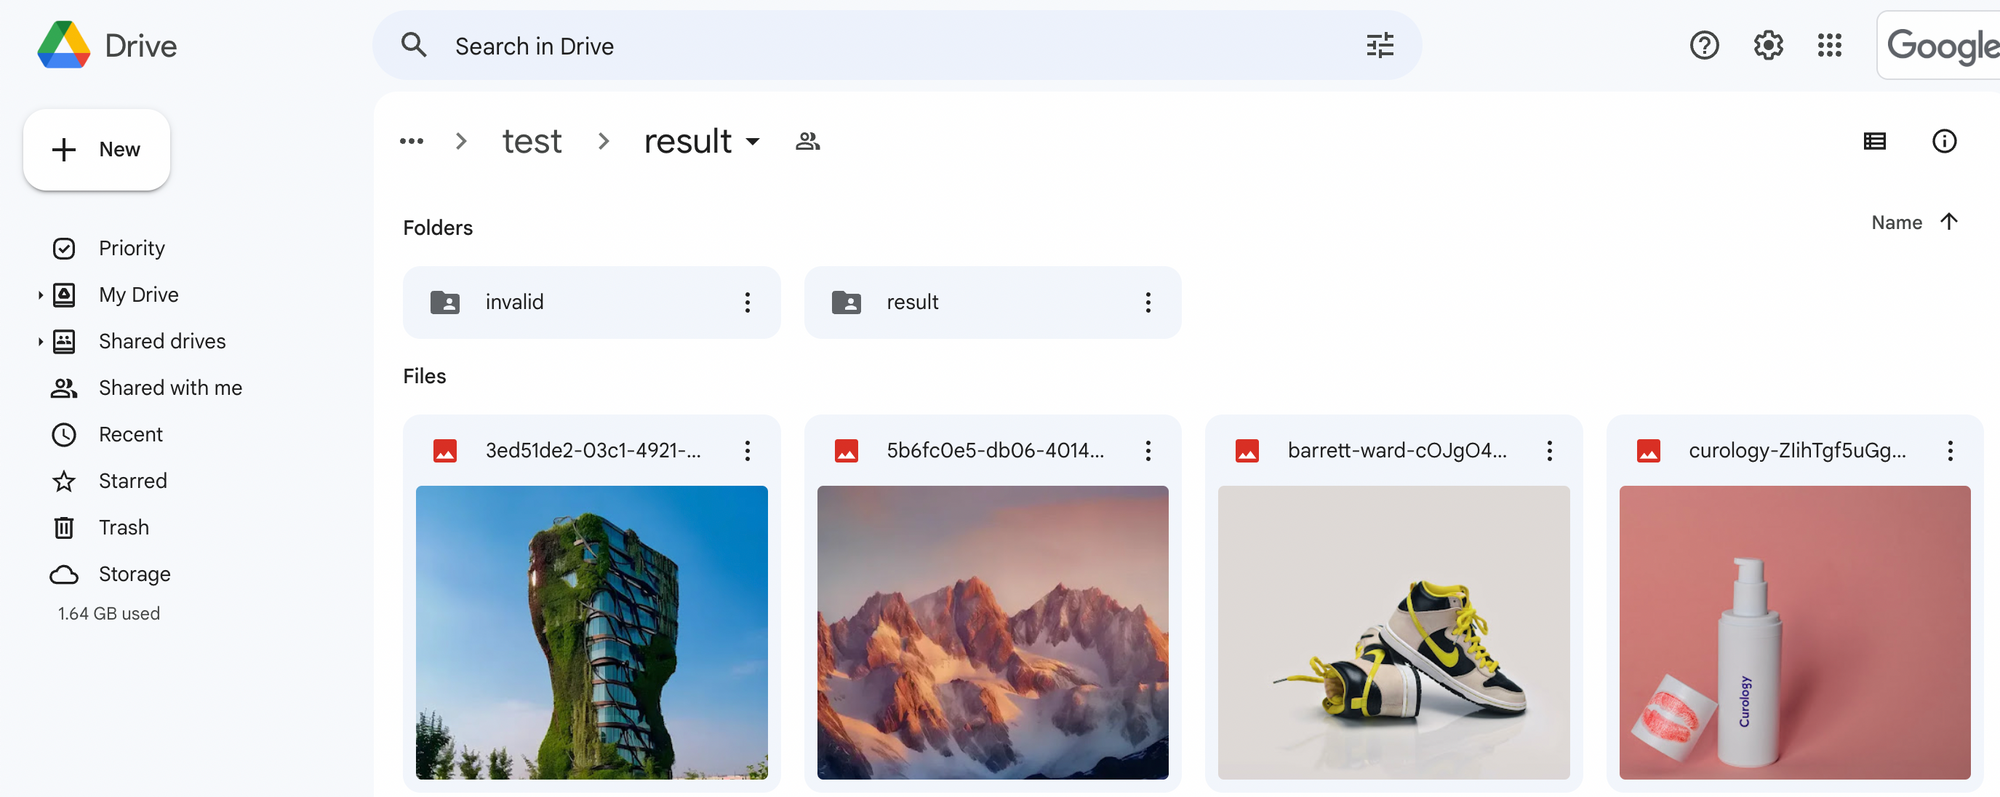
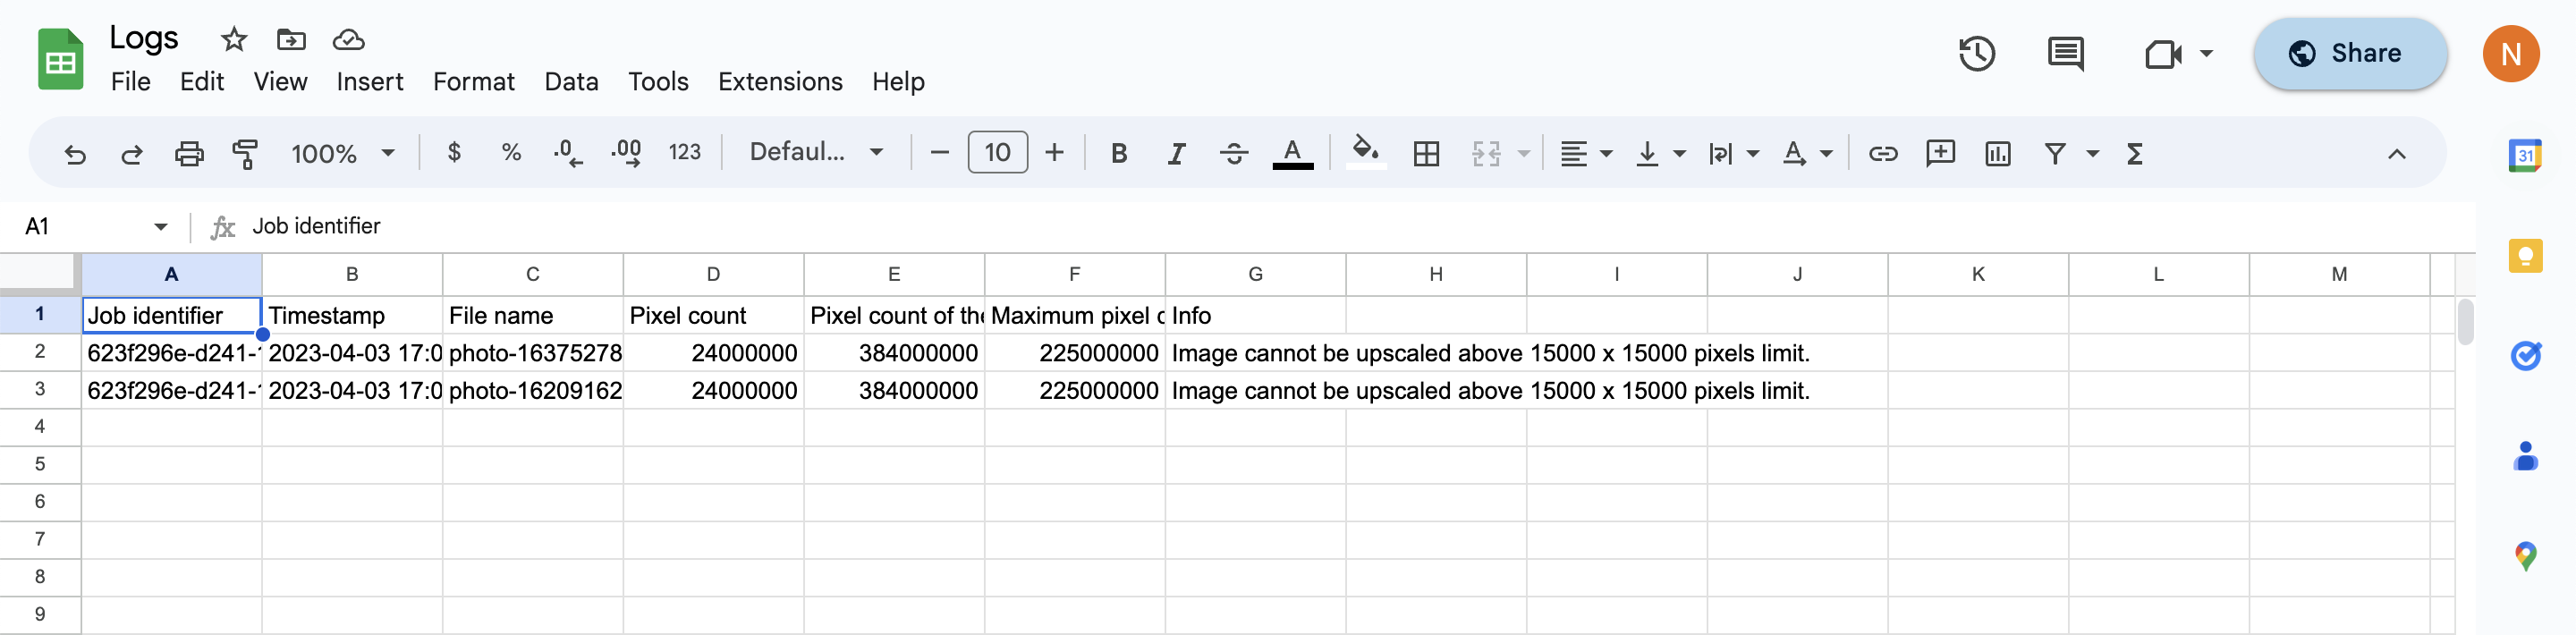
Step 10: Invalid photos
If some of the photos for some reason can not be processed in the target folder two folders will be created. In addition to the folder named "Results", where the corrected photos are located, there will be a folder named "Invalid" with a sheet of error descriptions, as in the example:
Conclusion
Using the batch upload feature with Google Drive as the source and destination is a powerful tool for automating and streamlining your image processing tasks.
By following the steps outlined above and verifying the links for correctness and availability, you can quickly and easily upload large numbers of images and generate detailed insights and data points based on the analysis.
Whether you are a professional photographer, a marketer, or simply someone who needs to process a large number of images quickly, Deep-image.ai is the ideal tool for the job.
