Photo restoration: How to repair an old photo with AI
Old photo restoration online done in a simple steps with easily available tools. AI will help repair your old photos
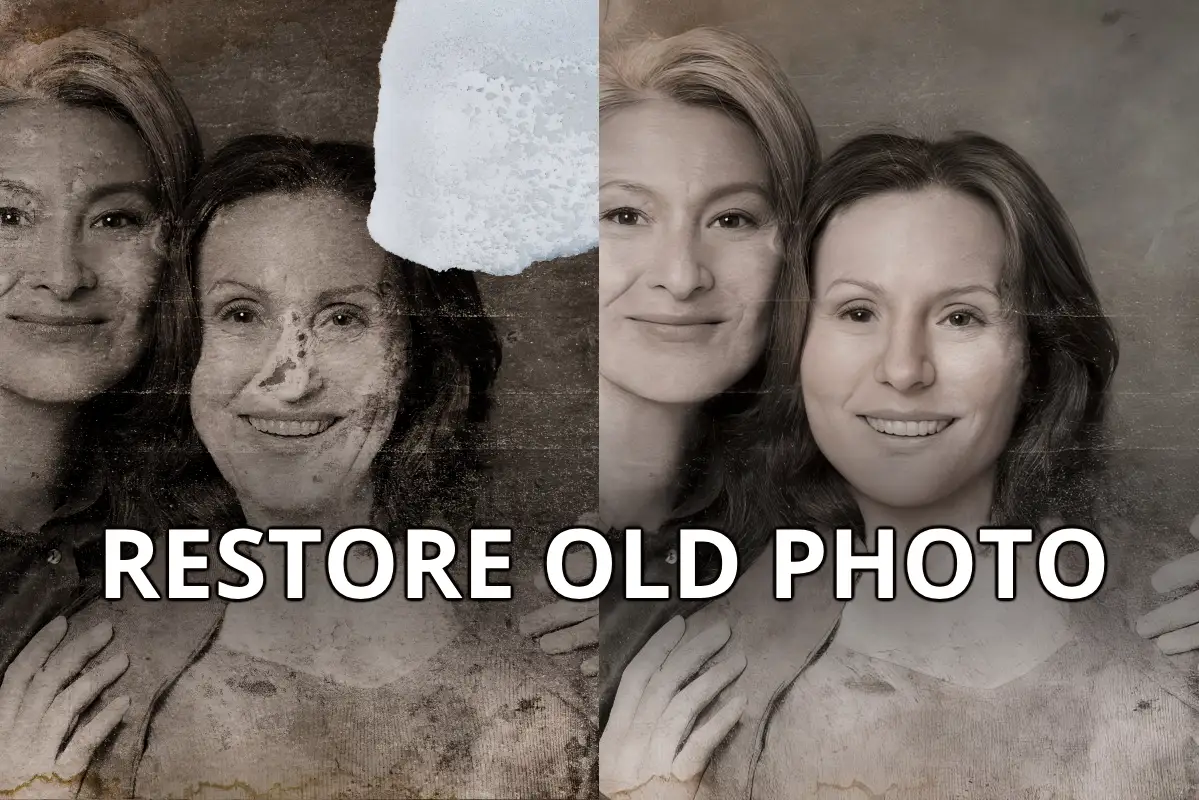
You were going through some old stuff in your grandparents attic and found a few amazing photos, but they were stuck in the attic for a few decades and now look broken beyond repair. It's only the look, because with AI you can actually restore those old photos, get them reprinted and make a great gift to your loved ones.
🔄 UPDATE 19.12.2025
We've updated our AUTO-ENHANCE Tool (https://deep-image.ai/app/tools/auto-enhance) which can now automatically restore and repair old photos. Simply upload your image and let the tool do the rest. Below is the result based on the image shown in this article.
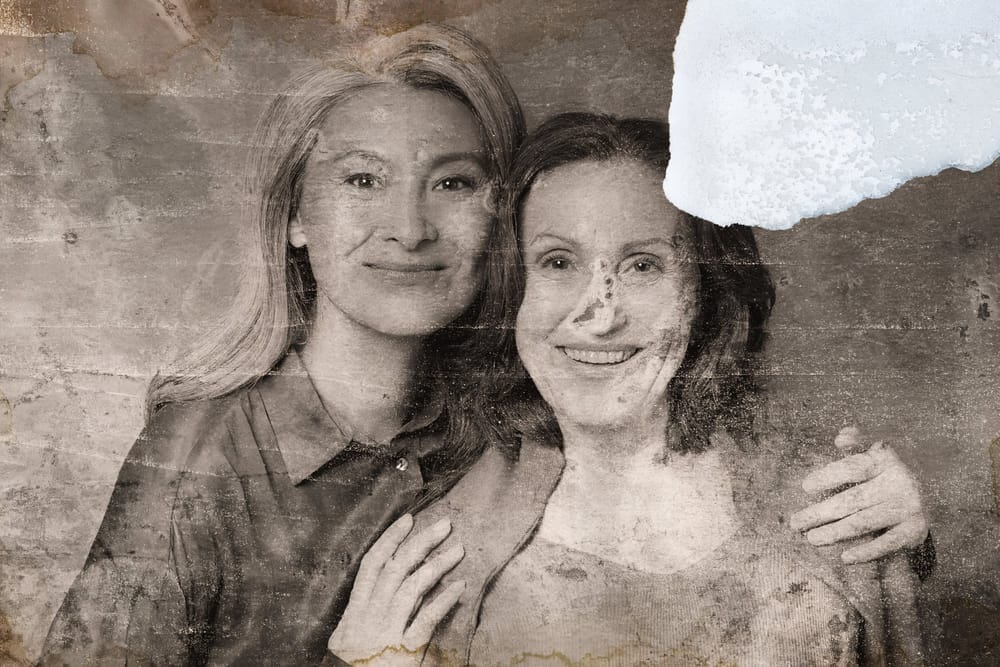
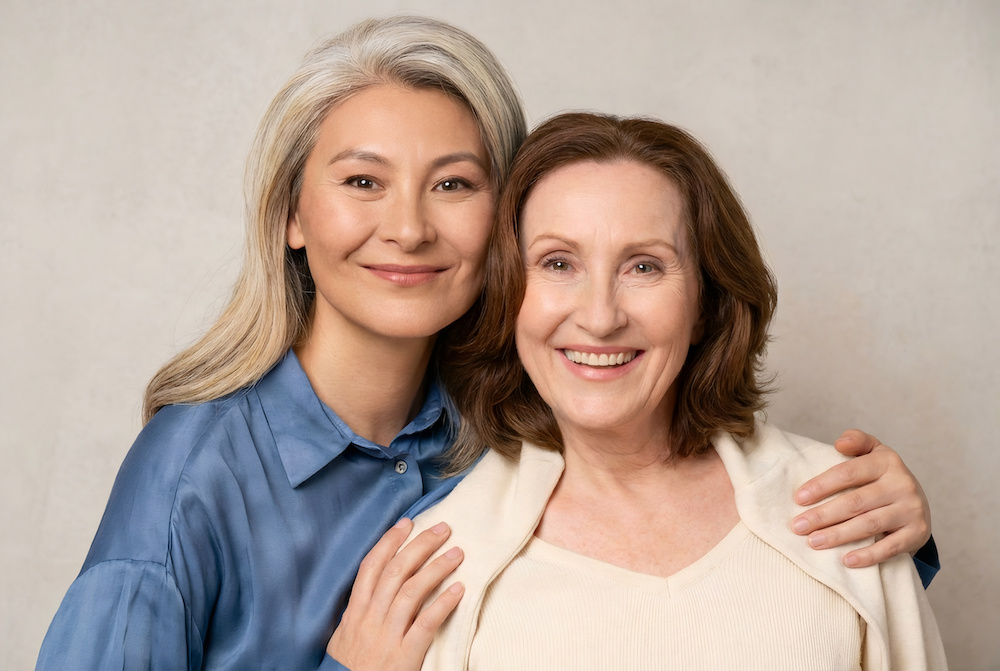
You can read more about the update and the new capabilities and see other examples in this article.
Step by step guide through a challenging photo restoration
Today we are going to use two photos as an example, and we will try to restore as much as possible, but without changing too much of the picture itself, and not making it look like a new photo. It will still have that old photo look, just a bit clearer and better looking.
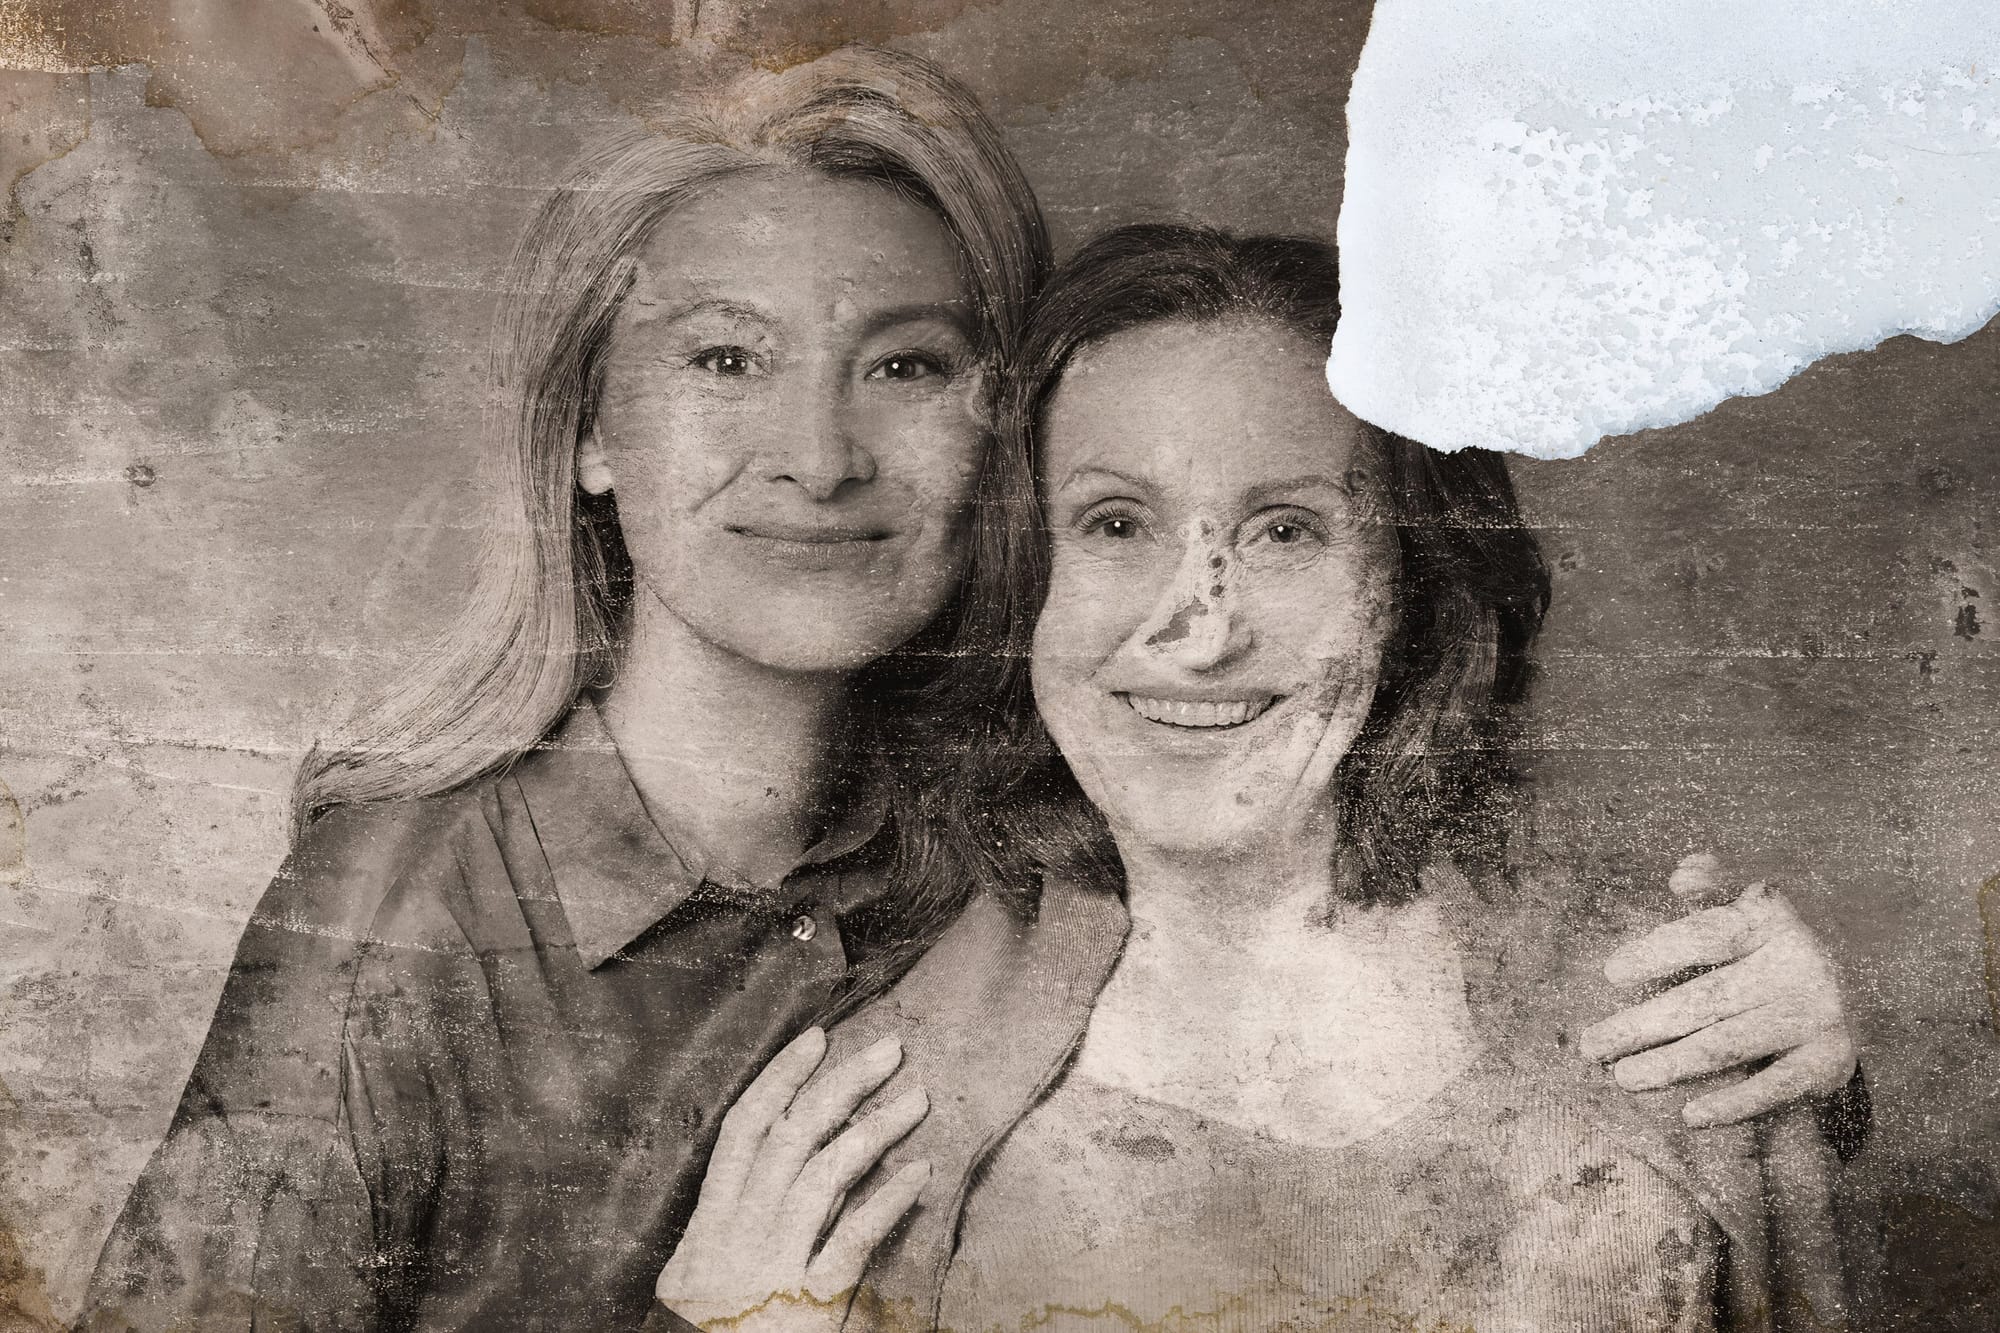
As we can see, the photo is very badly damaged. There is a huge chunk of photo completely missing. The face on the right has melted nose and burned marks on the chin. It all looks very bad.
Our first step will be with the Inpainting tool, and we will try to get rid of this big white chunk of missing photo.

I have used the brush, to select this teared off area. And in the text prompt section I simply wrote "clear background and a bit of a female head". But probably just "clear background" would be enough.
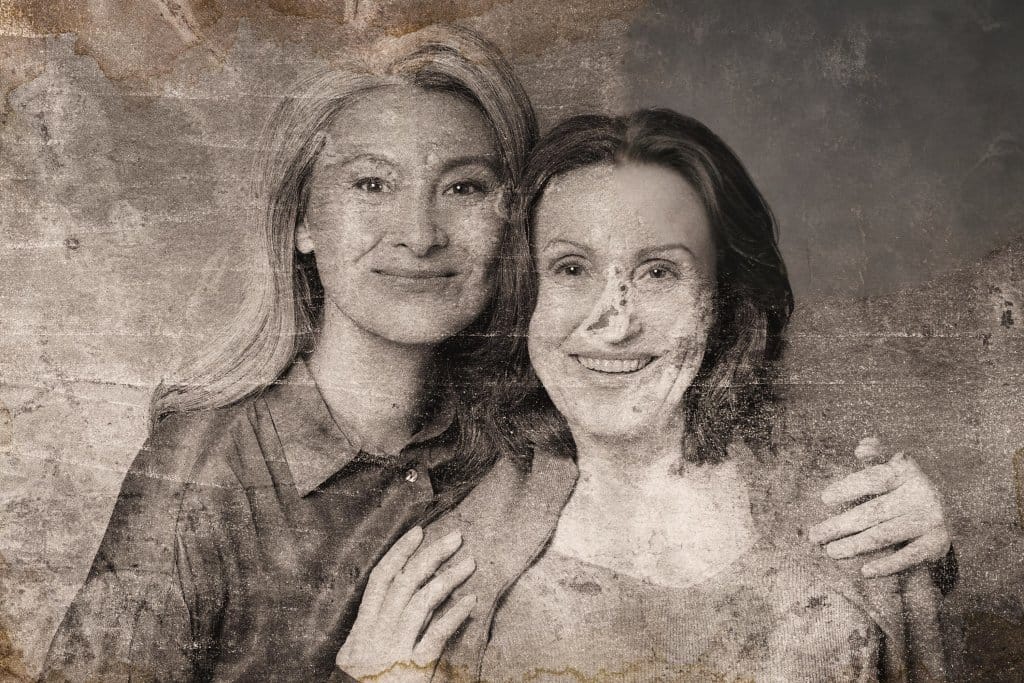
And this is my result. It doesn't look like much just yet, but this is a step-by-step process so we have still some work ahead of us. Now, let's try to fix that nose and chin.

I have reuploaded this photo to the Inpainting tool again. This time I have selected only the nose and in the text prompt wrote "female nose".

As you can see on the image above, I have already fixed the nose, now I am doing exactly the same process with the chin. I have selected it using an Inpainting brush. Then in the text prompt wrote "female chin"
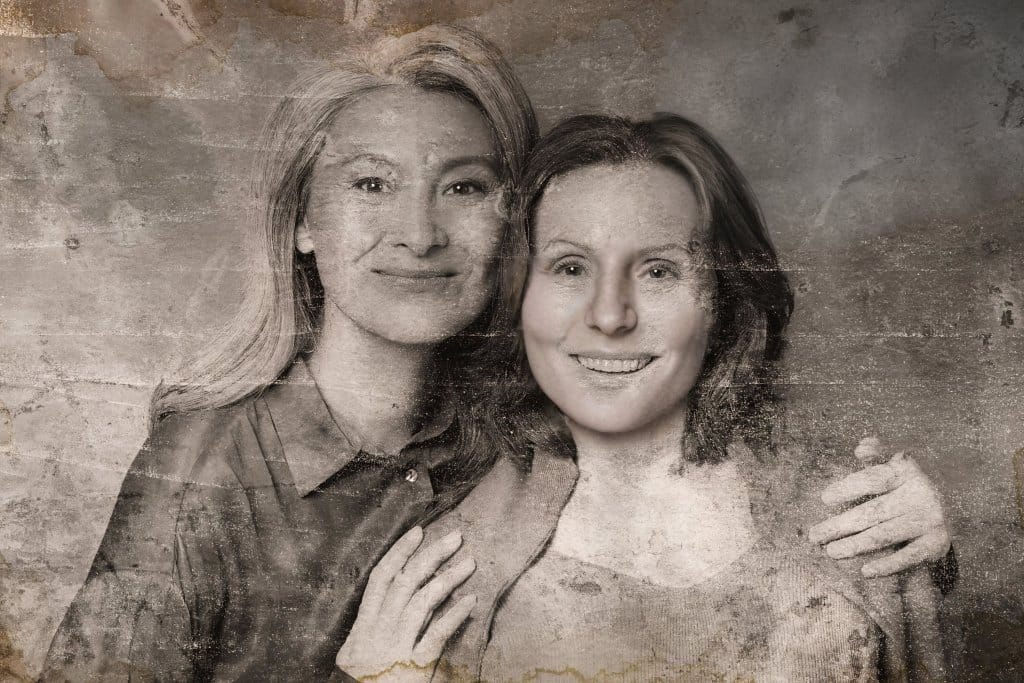
Now we have fixed the most crucial damage on the photo. What we need now is a little bit of a general fix applied to the whole photo. Great for this purpose will be a generative Upscale. For this, we will use AI Image Enhancer.

Here we have used the Generative Upscaling. But it's a little trick, as we set the width for 1200 pixels, which is exactly the same value as an input photo, we will not really upscale the photo, but the generative upscaling feature will still apply to the image. For better effect, we also turned on "reduce noise" and "sharpen" options.
Before and after applying Generative upscale and other effects
Of course, we could still continue to work on that photo and get it in a much better shape. This example is to show you how many options you have available, when you are fully aware of the possibilities that specific tools offer. Once you realise you can combine various tools and features, you will gain a lot more creative options, that could be used for any purpose.
Portrait photo restoration example
Second example is of a vertical portrait photo, that we will try to repair.
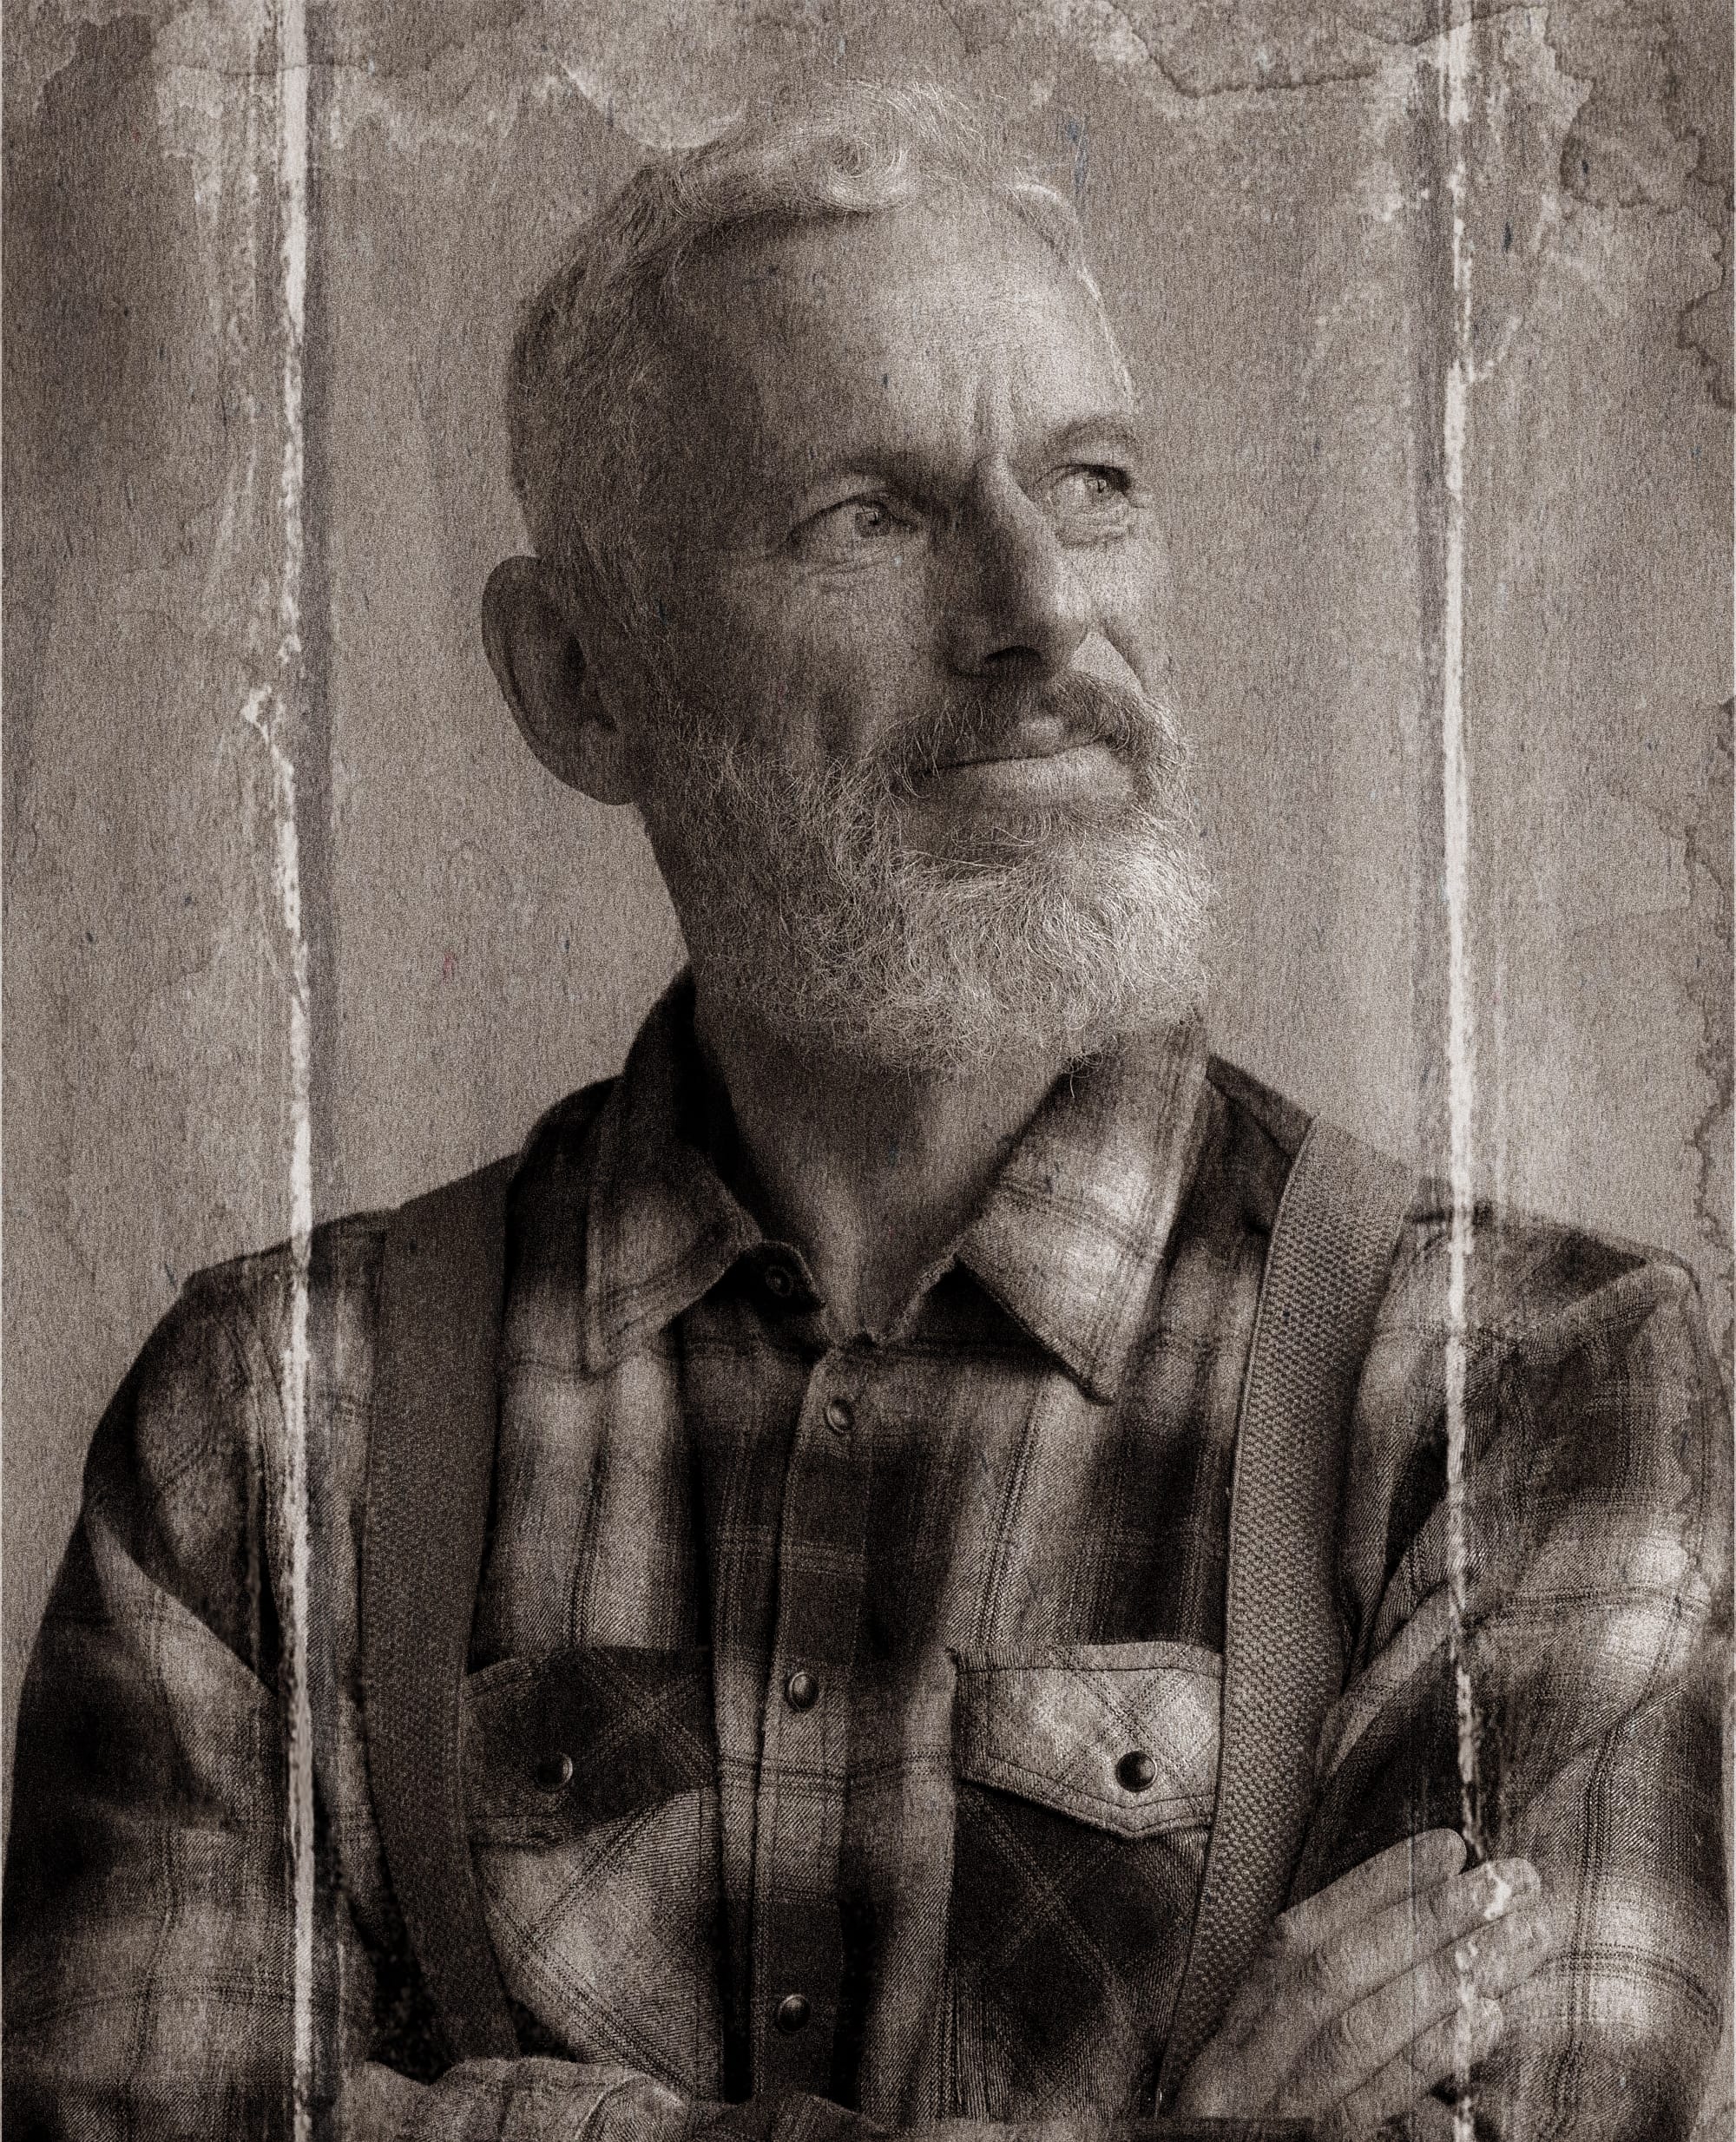
The main issues with this photo are two white lines due to folding the photo and also terrible noise that kills most of the details in the photo. Our first step will be getting rid of those fold lines. Just like previously, for this, we will use our Inpainting tool.

We have selected the fold lines and in the text prompt I sticked to simple instructions, and wrote "remove scratches". If that would fail for me, then I would go for something like plain background, but then I would have to separately select just the background, and do a second round just for his flannel shirt. So "remove scratches" saved me 1 credit.
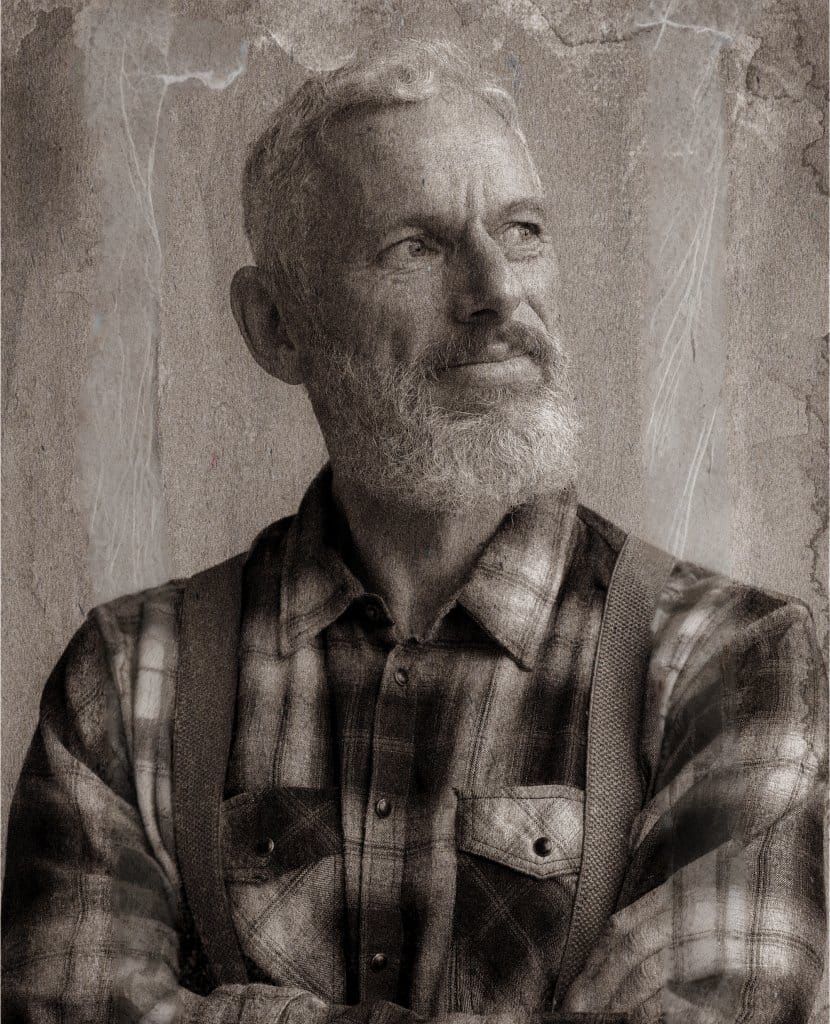
With fold lines removed, this is not yet looking that great. But we will now apply some effects on a whole photo to fix it all up. For this we will switch to AI Enhancer PRO, which has all features in one place and together with AI Generator PRO are the most comfortable tools for advanced users.

In here we apply Generative Upscaling together with noise reduction and sharpening. While using generative upscaling we don't really have to actually upscale the image, we can keep the same size, but still apply the effect. This time we did upscale image a bit, as it was really small to begin with.
And here we have the final result. I personally would still do some work on it to add this final touch. But it's a good example on how you can work on your own old photos and achieve some satisfying results with relatively small time and money investment.
List of tools used for Photo Restoration
Every tool we used in this example is easily available at Deep Image. In a chronological order, we have used:
- Inpainting Image AI - to redraw the most damaged and completely destroyed elements of the picture
- AI Photo Enhancer - to apply global effects on a whole photo
- Generative Upscale - to help restore completely lost details.

