Preparing Digital Art and Photos for Large-Format Print
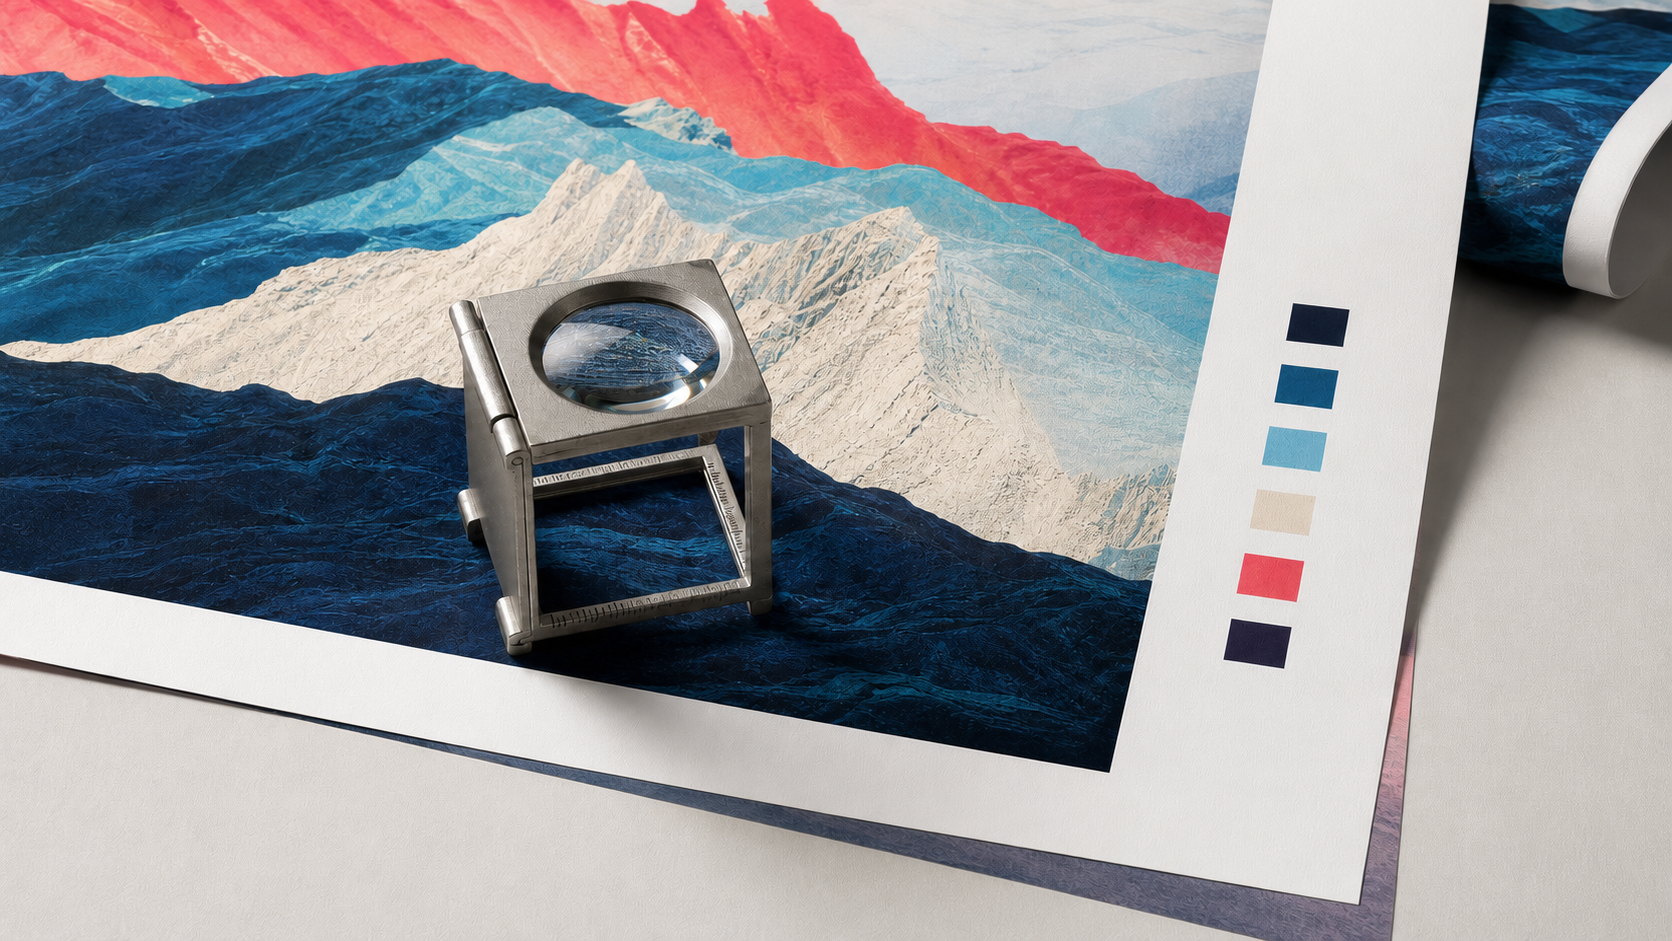
Preparing an image for large-format print starts with the printer's specification, not an arbitrary DPI target. Final dimensions, viewing distance, substrate, printing process, bleed, color profile, and file format determine what the file needs.
AI upscaling can be useful when the source does not contain enough pixels for the chosen size. It cannot recover factual detail that was never captured, and it does not replace color management, output sharpening, or a physical proof.
Ask the print provider first
Before resizing the artwork, request the production specification. Confirm:
- finished width and height;
- required bleed and safe area;
- preferred effective PPI at final size;
- RGB or CMYK workflow;
- ICC profile and rendering intent;
- accepted file format and maximum file size;
- whether the provider scales files in its RIP;
- substrate, lamination, and expected viewing distance.
A gallery print viewed from close range and a banner mounted several meters away do not need the same pixel density. The service provider knows the device, screening method, ink, and substrate, so its specification takes priority over a generic web checklist.
PPI is not printer DPI
Image resolution is normally described in pixels per inch, or PPI. Printer resolution is described in dots per inch, or DPI. A printer may use several ink dots to reproduce one image pixel, so the values are not interchangeable.
Adobe's current guide to printed image resolution distinguishes pixel dimensions from the number of pixels assigned to each printed inch. Changing only the resolution metadata without resampling does not add pixels. It changes the calculated physical size.
Calculate the source requirement with:
required pixels = final inches × target PPI
A 24-inch-wide print at 240 PPI needs 5,760 pixels across. The same file at 120 PPI prints 48 inches wide, but with less image detail per inch.
Choose resolution for viewing distance
Three hundred PPI is a common target for smaller work examined closely, not a universal law. Adobe notes that lower resolutions can work for large-format output viewed from farther away. Some inkjet workflows can produce strong photographic results with an effective image resolution around 220 PPI, while distant signage may need less.
Do not upscale to 300 PPI automatically if the print provider recommends another value. Excess pixels increase file size and processing time without guaranteeing visible improvement.
Inspect the source before upscaling
Evaluate the file at 100 percent and at the intended print size. Look for:
- focus and motion blur;
- JPEG blocks, ringing, or banding;
- noise and oversharpening;
- small text and thin lines;
- gradients likely to posterize;
- generated anatomy, repeated texture, or malformed details;
- crop limits and missing bleed.
Upscaling magnifies both useful structure and defects. Correct broad exposure and color problems first, but keep irreversible sharpening until the final dimensions are known.
When AI upscaling is appropriate
Use an AI upscaler when a good source is modestly undersized, a crop reduced the available pixels, or a digital illustration needs a larger raster delivery. Compare it with a conventional high-quality resample. Clean geometric artwork may resize better with vector reconstruction or conventional interpolation than with generated texture.
Test the Deep-Image.ai Image Upscaler at the smallest scale that satisfies the output requirement. Review the result for halos, invented texture, changed lettering, altered facial features, false brushwork, and repeated patterns. For historical photographs or evidence, preserve the original and label any generative derivative.
Never use upscaling as a reason to ignore a better source. Re-exporting the original artwork, rescanning a print, or obtaining the camera raw file is preferable when possible.
Set crop, bleed, and safe area
Create the canvas at the provider's requested final size plus bleed. Extend real background content through the bleed rather than stretching the outermost pixels. Keep important faces, text, logos, and product edges inside the safe area.
For wrapped canvas, fabric, or mounted prints, account for material that continues around an edge. A gallery wrap may require much more image beyond the visible front than a trimmed poster.
Manage color for the output condition
A monitor emits light while paper reflects it. The print may have a smaller gamut, weaker black, and a paper white that is warmer or duller than the display.
Use a calibrated and profiled monitor when color matters. Obtain the correct profile for the printer, ink, and substrate. The ICC Profile Registry lists profiles tied to defined printing conditions, but the print provider should identify the appropriate profile for its workflow.
Soft proofing simulates the output profile on screen. Adobe's soft-proofing guide also notes that reliability depends on the monitor profile, output profile, and viewing environment. Enable paper-color and black-ink simulation when supported, then inspect saturated colors, shadow detail, neutral grays, and skin tones.
Do not convert to CMYK by habit. Some photographic and large-format services expect RGB files and perform the conversion in their RIP. Follow the provider's instruction and embed the requested profile.
Apply output sharpening last
Sharpen after resizing to final pixel dimensions. The appropriate amount depends on image content, print process, substrate, size, and viewing distance. Canvas and textured media often need different treatment from glossy photographic paper.
Inspect high-contrast edges for halos and fine texture for a brittle or noisy appearance. Avoid judging sharpening only at a zoom level that does not correspond to the print.
Export the file the printer requested
There is no single best print format. TIFF can preserve high bit depth and layers where supported. A high-quality JPEG can be appropriate for photographic output when the provider accepts it. PNG is useful for some raster workflows but is not a universal commercial-print standard. PDF is common for layouts containing typography, vector graphics, crop marks, and bleed.
Flatten or retain layers according to the specification. Embed the color profile, keep a master working file, and name the delivery file with final dimensions and version. Reopen the exported file to confirm size, crop, profile, channels, and visible content.
Order a proof or test strip
A soft proof cannot reproduce surface texture, ink spread, coating, reflected light, or the exact perceived scale of a large object. For valuable work, request a contract proof, reduced proof, or full-size test strip containing critical colors and details.
Evaluate the proof under the lighting in which the finished work will be displayed. Record any corrections and apply them to a new version rather than overwriting the approved source.
Large-format print checklist
- confirm size, substrate, viewing distance, bleed, profile, and format;
- calculate required pixel dimensions from final inches and target PPI;
- obtain the best available source;
- correct visible defects before enlargement;
- compare conventional and AI resampling when more pixels are needed;
- inspect generated details and typography at full size;
- soft-proof with the requested output profile;
- apply sharpening at final dimensions;
- export, reopen, and verify the delivery file;
- approve a physical proof or test strip before the full run.
AI is one optional resizing tool inside a print-production workflow. A successful large-format file combines adequate source pixels with correct geometry, color management, output-specific finishing, and a proof made for the actual printer and material.
