Best AI Prompts for Image Enhancement and Restoration
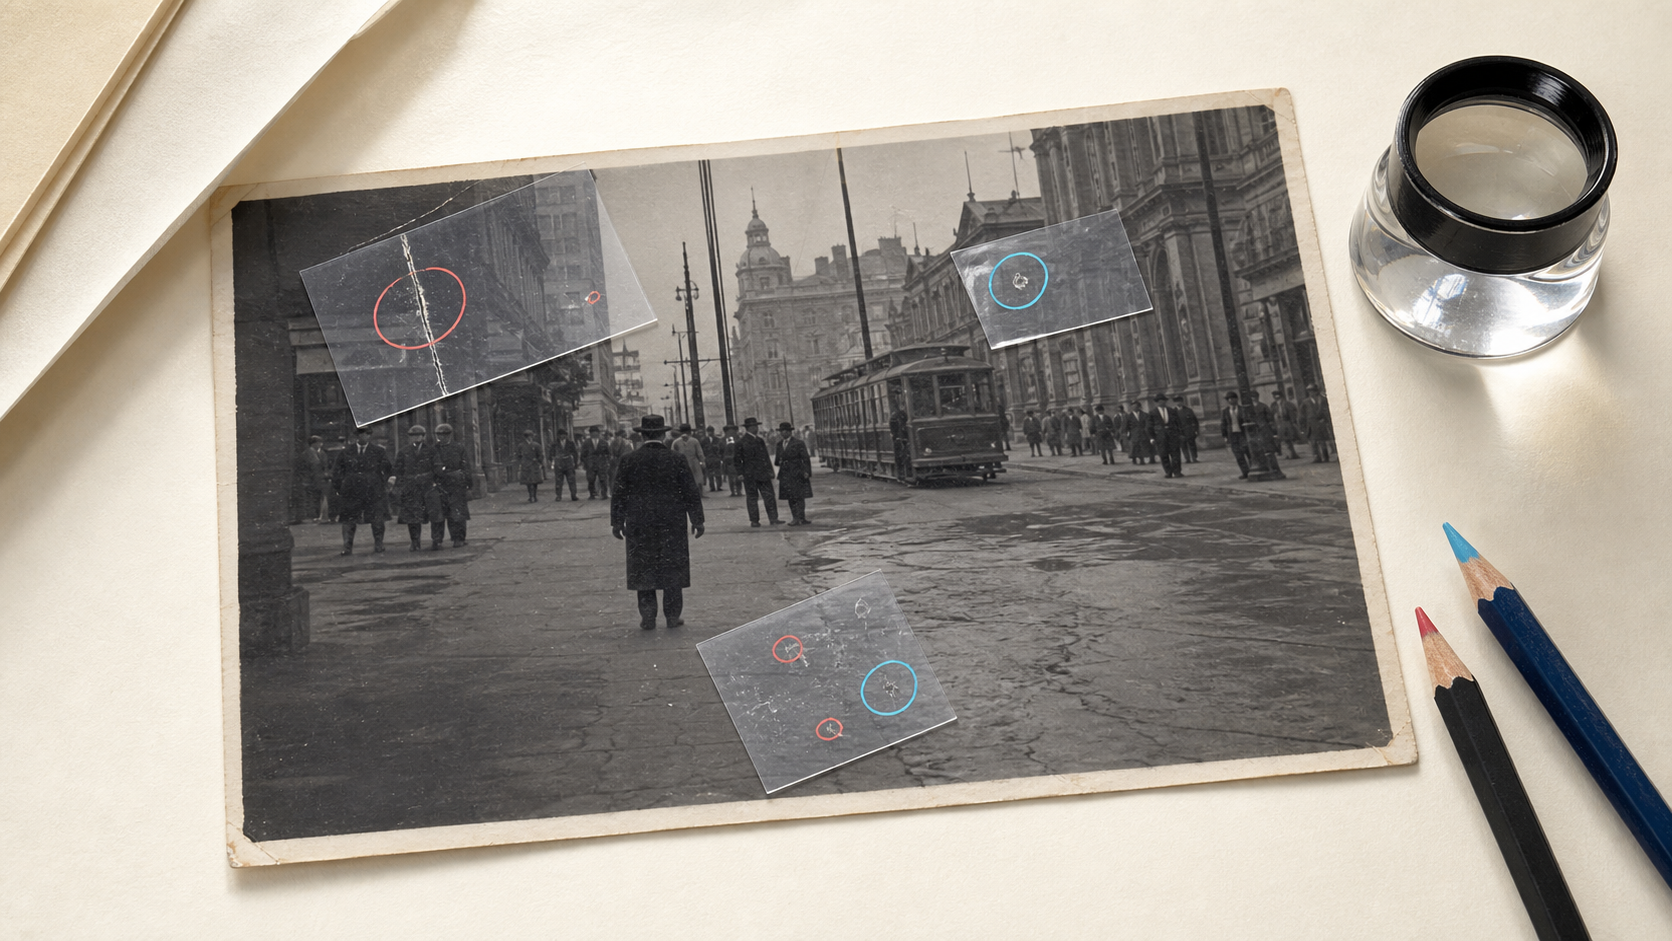
A good image-editing prompt is a change request, not a collection of flattering adjectives. It tells the editor what must remain true, what should change, how strong the edit should be, and which failure modes to avoid.
This guide provides copy-ready prompts for enhancement, restoration, deblurring, denoising, upscaling, portraits, and color correction. They are deliberately model-neutral. Results still depend on the source file and the editor you use, so treat every output as a proposal to review, not proof that lost detail was recovered.
The four-part prompt structure
Use this order for edits to an existing image:
Preserve, change, method, avoid.
- Preserve: name the invariants, such as identity, product geometry, crop, pose, labels, colors, or scene layout.
- Change: state the defect or requested edit precisely.
- Method: describe the desired strength and visual character.
- Avoid: name the most likely damaging result.
For example, “make it better, sharp, 4K” leaves the system to guess both the problem and the acceptable solution. “Reduce JPEG blocks while preserving pores, hair strands, and the original facial features” is a bounded editing instruction.
Before you write the prompt
Start with the best available source. A larger original usually contains more real information than a compressed messenger copy. If you are working from a print, scan it flat, clean the scanner glass, and avoid aggressive automatic corrections during capture.
Decide what evidence matters. For a family portrait, identity and period detail are critical. For a product image, geometry, packaging, color, material, and included components must remain unchanged. For documentary work, adding a plausible detail can still make the image less truthful.
Finally, separate unrelated operations. Restoration, colorization, face retouching, and background replacement have different risks. One controlled pass per objective is easier to compare and undo than a single instruction that asks for everything.
Copy-ready prompt library
General photo enhancement
Use this when the image is slightly soft, flat, or poorly balanced but otherwise intact.
Improve the technical quality of this photo. Correct exposure and white balance, reduce mild noise, and restore natural local contrast and fine detail. Preserve the original subject, identity, composition, crop, colors, and proportions. Do not add or remove objects, invent texture, or create an over-sharpened look.If the first result is too strong, do not repeat the whole request. Follow with: Reduce the sharpening and contrast by half. Preserve the original skin and surface texture.
Old photo restoration
Restoration should repair physical damage without redesigning the scene.
Restore this scanned photograph conservatively. Remove dust, scratches, fold marks, stains, and small tears. Reconstruct only areas where surrounding evidence is clear. Preserve every person's identity, expression, age, clothing, pose, and the original composition. Keep the period character and natural photographic grain. Do not modernize faces, clothing, architecture, or lighting.For a heavily damaged area, describe its location: Repair the torn upper-right corner using the adjacent wall texture. Do not change the person or the window frame. Specific spatial instructions reduce the chance that the entire image will be repainted.
Black-and-white colorization
Colorization is an interpretation. Clothing and object colors may be unknowable from luminance alone, so avoid presenting a generated palette as historical fact.
Add restrained, historically plausible color to this black-and-white photograph. Preserve all people, objects, facial features, clothing details, lighting, crop, and photographic texture exactly as shown. Use natural skin tones and muted period-appropriate colors. Do not add objects, replace clothing, beautify faces, or change the scene.If accurate colors are known, supply them directly: The coat was dark navy and the car was cream. Preserve all other details.
Deblur and focus recovery
Mild motion blur and softness can often be reduced. Severe blur contains missing information, so any crisp micro-detail may be synthesized rather than recovered.
Reduce the mild motion blur in this image and improve edge definition. Prioritize the subject's eyes, mouth, hairline, and clothing seams while preserving identity, expression, proportions, and natural skin texture. Keep the original crop and background. Avoid halos, doubled edges, invented eyelashes, and an artificially crisp result.Review eyes, teeth, text, jewelry, and repeating patterns at full resolution. These are common places for plausible but incorrect detail.
Noise and compression artifacts
Reduce high-ISO noise, color speckling, and JPEG block artifacts. Preserve real edges, hair strands, fabric weave, pores, and small object boundaries. Keep the original color and lighting. Do not smear flat areas, wax the skin, erase fine texture, or create false detail.For a small web image, ask for artifact cleanup before upscaling. Upscaling compression blocks first gives the next step larger defects to imitate.
Upscaling
Upscale this image to [target width or scale]. Improve edge continuity and preserve the existing texture without changing the subject, geometry, crop, colors, labels, or scene content. Reconstruct detail conservatively. Do not add lettering, alter faces, change product packaging, or invent small objects.Use a concrete target such as “2400 pixels wide” or “2x” rather than “very high resolution.” You can also use a dedicated AI image upscaler when the task is purely resolution and detail.
Natural portrait retouching
Apply subtle portrait retouching. Reduce temporary blemishes and balance uneven color while preserving pores, lines, freckles, moles, hair texture, identity, age, expression, and facial proportions. Keep the original lighting and background. Do not reshape features, enlarge eyes, whiten teeth excessively, or create plastic skin.For professional or documentary portraits, list permanent identifying marks that must remain. “Clean skin” is ambiguous; “remove the temporary blemish on the left cheek while preserving freckles” is testable.
Lighting and color correction
Correct the exposure, white balance, and color cast in this photo. Recover available highlight and shadow detail, keep neutral objects neutral, and preserve realistic skin tones and product colors. Maintain the original composition and lighting direction. Avoid clipped highlights, crushed shadows, orange skin, and excessive saturation.If you have a known neutral reference or color chart in the frame, identify it. That is more reliable than asking for a generic “cinematic grade.”
Product image cleanup
Clean this product photograph for an e-commerce listing. Remove dust and minor background imperfections, correct exposure, and keep the product edge clean. Preserve the exact product shape, dimensions, color, material, label, logo, closure, reflections, and included components. Do not redesign packaging, change text, add accessories, or hide defects in the product itself.Compare the result with the source at the same crop. Product preservation matters more than visual novelty.
How to refine a nearly correct result
When an output is close, make one local correction. A useful refinement names the location, the unwanted change, and the invariant:
Restore the original eye shape and eyebrow position. Keep the scratch repair elsewhere unchanged.Remove the halo around the bottle edge. Preserve the bottle dimensions, label, cap color, and background.Reduce denoising in the hair and jacket only. Preserve the corrected exposure.This is easier to evaluate than generating several unrelated versions. Save each accepted intermediate result so you can return to it if a later pass damages another area.
A safe multi-step order
For damaged photographs, a practical order is:
- crop and rotate without generative editing;
- remove dust, scratches, and folds;
- correct exposure and tonal fading;
- apply colorization only if required;
- reduce noise and apply restrained sharpening;
- upscale once at the end.
For product photography, preserve the master asset and create derivatives. First correct the source, then remove or replace the background, then export channel-specific crops. Do not repeatedly overwrite the only copy.
How to review the output
Inspect the source and result side by side at 100% zoom. Check:
- faces, hands, teeth, hairlines, and jewelry;
- logos, packaging text, seams, and repeating patterns;
- straight edges and boundaries against the background;
- shadow direction, contact shadows, and reflections;
- objects near repaired or generated areas;
- whether the crop, pose, and geometry remain identical.
A result can look impressive at thumbnail size and still be unusable. If an edit changes the subject, it is not a successful restoration or enhancement.
Common prompting mistakes
- Asking for “4K” without a target. State a pixel size or scale factor.
- Using style words instead of edit instructions. “Professional” does not identify a defect.
- Omitting invariants. Tell the editor what cannot change.
- Combining restoration and redesign. Repair the source before requesting a new background or mood.
- Claiming certainty about missing detail. Generative reconstruction can be plausible and still wrong.
- Accepting the first output at card size. Review critical details at full resolution.
Where to use these prompts
Paste the examples into Prompt Based Edit, replace bracketed values, and upload the best source available. For a broad technical cleanup, Enhancer Studio provides another route. Keep the source file, compare every derivative, and move to the next operation only after the current one passes review.
The reusable principle is simple: define the evidence that must survive the edit. A prompt cannot guarantee fidelity, but clear invariants, one objective per pass, and disciplined review make failures easier to detect.
FAQ
Will a prompt recover real missing detail?
Not necessarily. When pixels are missing or heavily blurred, a generative editor may construct a plausible replacement. Treat important reconstructed details as interpretations.
Should prompts be long?
Only as long as needed to define the edit and its invariants. Two precise sentences usually outperform a paragraph of redundant quality terms.
Can I edit several problems at once?
You can, but separate passes make it easier to identify which operation changed the subject. Use one pass per high-risk objective.
What if the result changes a face or product?
Reject it. Return to the last accepted version, narrow the edit, strengthen the preservation instruction, and review the new result against the source.
