Firefly Image 3 Is Retired From Photoshop Expand: How to Widen a Photo Without Cropping the Subject
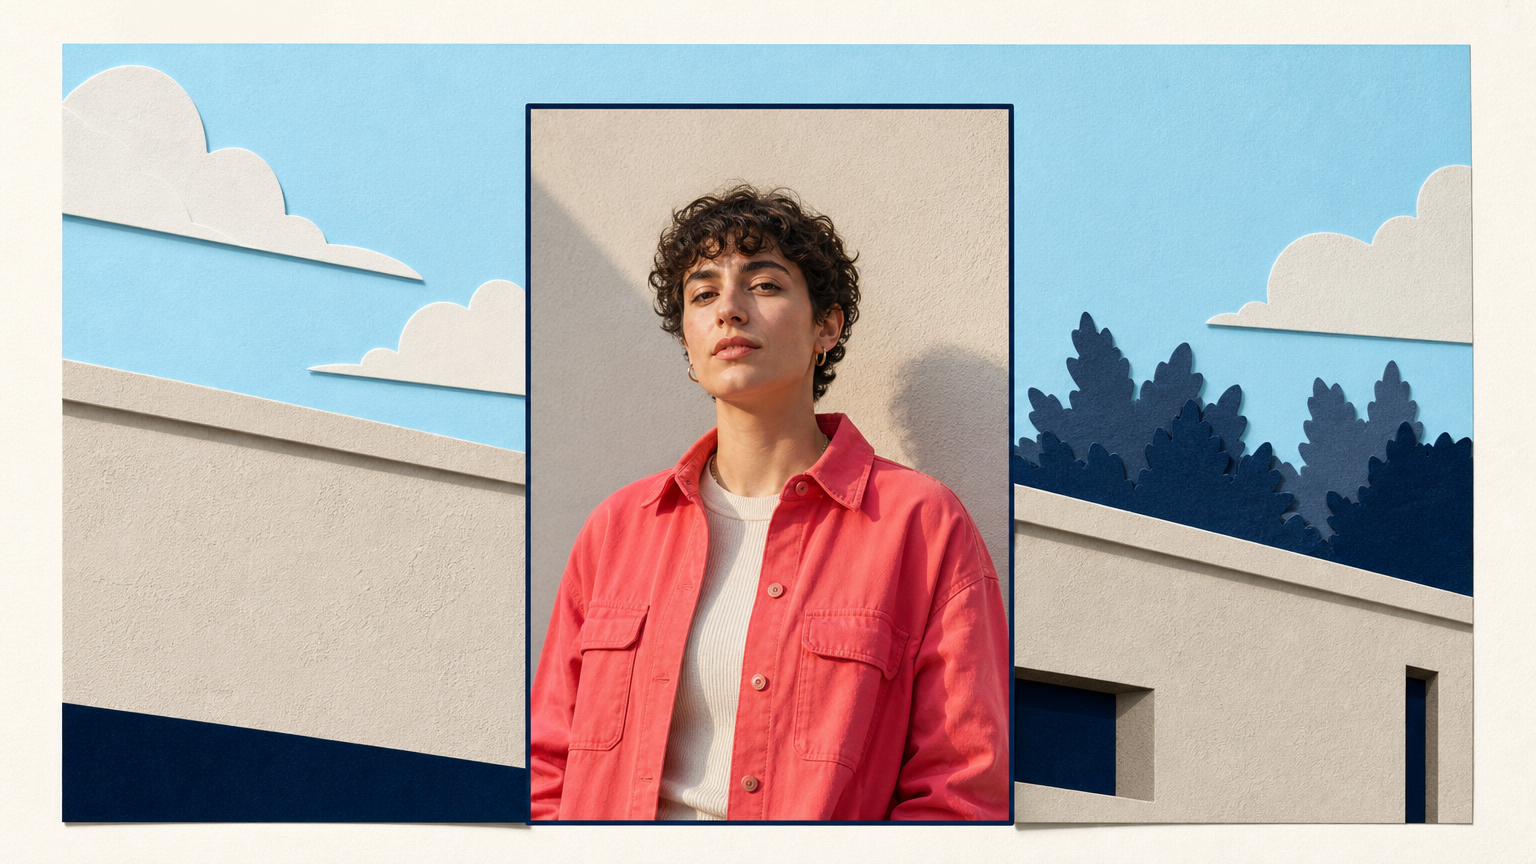
A photo can be good and still be the wrong shape. A vertical portrait may need room at the sides for a landscape post. A tightly framed product photo may need extra background above it for a banner. Cropping solves the aspect-ratio problem by throwing pixels away, often cutting too close to the subject.
That is why the retirement of Firefly Image 3 matters to some Photoshop users. Adobe removed it from the Generative Fill and Generative Expand model picker on April 28, 2026, then said it would be fully removed from those workflows in August 2026. Adobe recommends Firefly Fill & Expand for those tasks. If you preferred the earlier model and now need a different way to make an image wider, the practical goal is unchanged: add believable space around the original without changing the person or product at the center.
This is a workflow for creators making social graphics, banners, and alternate crops. It is not a promise that an AI-expanded image will reproduce every detail perfectly. Treat the new canvas as a generated extension and inspect it before publishing.
What photo expansion does, and what it does not do
Photo expansion, sometimes called uncropping or outpainting, creates new image area beyond an existing edge. The original photo stays as the reference while the added area is generated to continue its scene, color, and visual style.
That differs from resizing. Resizing makes every part of the image larger or smaller. Expansion changes the canvas so the subject can keep its size while gaining breathing room around it.
Uncrop Image AI is Deep-Image.ai’s tool for filling the gaps around a photo with visuals in the same style as the original. It can be useful when the important part of your image is already in frame but you need a wider composition. The added area still needs a human review, especially if it reaches hair, hands, clothing, packaging, text, or a product edge.
Start with the crop you want to keep
Before generating anything, decide which part of the existing photo must remain untouched. For a portrait, that might be the face, hairstyle, pose, and shoulders. For a product, it is usually the exact shape, color, material, label, logo, controls, and included parts.
- Use the best available original. Begin with the highest-quality file rather than a screenshot or a compressed image saved from a chat.
- Choose the destination format first. A landscape banner needs side room. A vertical story crop may need space above and below. Knowing the final use prevents unnecessary expansion.
- Keep the subject away from the new edge. If a person’s hair or a product handle already touches the border, leave room for the new area to form around it.
- Save the original separately. The source file is your reference if a generated extension changes something you did not ask to change.
A good starting image has a clear subject and some understandable context around it. A close-up face against a plain wall is generally easier to extend than a crowded party photo where several hands and objects are cut off at the edge.
A simple workflow to widen a photo without cropping the subject
- Upload a copy of the image to Uncrop Image AI. Work on a duplicate, not the only copy of an important photo.
- Create the extra canvas needed for the new layout. Think in terms of the empty space your design needs: more room to the left and right for a wide post, or more sky and foreground for a taller crop.
- Generate the extension. The result should continue the surroundings, not redesign the main subject.
- Compare the original footprint with the result. Check that the face, body position, product outline, and visible details inside the original area still match the source.
- Place the expanded image in the real layout. Add your headline, logo, or platform crop guide only after you know the new space is usable. A result that looks fine alone may leave too little clean area for text.
The goal is not to make the AI-generated area the star of the image. It is to create enough surrounding space that the original subject no longer has to be cut down to fit.
Use a preservation brief when the image contains a person or product
If your editing workflow accepts instructions, keep the request narrow. State what must stay the same, say where you need more room, and name the changes you do not want. The examples below are suggested briefs, not evidence of a tested output.
Portrait for a landscape social post
Preserve the person's identity, facial features, hairstyle, pose, clothing, and camera angle. Extend the scene naturally to the left and right to create a wider composition. Keep the original person unchanged. Do not add people, accessories, text, or new objects near the subject.Product photo for a banner
Preserve the product's exact shape, proportions, color, material, label, logo, controls, and included parts. Extend only the background around the product to create more space on both sides. Do not alter the product, add props, or create readable text.These requests make the review easier because they name the details that matter. They do not guarantee preservation. A generated expansion is still a new derivative, and the original should remain the comparison point.
Check the boundary where the old photo meets the new canvas
The join between the original photo and the generated extension is where problems often become visible. Review the image at normal viewing size, then zoom in on the edges of the original composition.
- Portraits: Check hair, ears, shoulders, jewelry, hands, clothing patterns, and shadows. Watch for a changed strand direction, an extra finger, or an oddly repeated texture.
- Products: Check the full silhouette, reflections, seams, handles, labels, and packaging corners. Do not use a result that changes what a buyer would receive.
- Backgrounds: Look for duplicated bricks, repeated leaves, abrupt lighting changes, bent horizon lines, or a pattern that suddenly shifts scale.
- Text: Keep real logos, labels, and headlines inside the original image when possible. Do not rely on a generated extension to recreate readable words.
If the extension reaches into a crucial detail, a less ambitious canvas change is often the better answer. You can also reconsider the layout: sometimes a solid color field, a deliberate graphic frame, or a different crop is more honest and more controllable than asking AI to invent a complicated scene.
Three cases where expansion is a good fit
A portrait needs room for a headline. Expand the quieter side of the image rather than shrinking the person until they feel lost in the design. Keep type away from hair and facial features.
A product is framed too tightly for a marketplace banner. Add background space around the item, then compare the product itself against the original. If the object changes, use the source as a product photo and create a separate, clearly creative banner instead.
A photo needs a second social format. Keep the original as the primary version and create an expanded derivative for the alternate placement. This is often better than making one aggressive crop serve every channel.
When not to use AI expansion
Photo expansion is less suitable when the missing area contains information that must be factual. Avoid treating it as a documentary repair for a news image, legal record, architectural measurement, or a product detail that was never photographed. Be cautious with group photos, highly detailed backgrounds, and images where a cropped-off hand, face, or object is central to the story.
It is also worth stopping when the generated area draws attention to itself. A slightly tighter but real photo can be stronger than a wider image with strange geometry or invented details.
Keep the source, then make the layout work
Adobe’s 2026 change removed Firefly Image 3 from Photoshop’s Generative Fill and Generative Expand workflows, but the underlying creative need did not disappear. Creators still need a way to reuse a strong photo in more than one format without cutting the subject out of the frame.
Start with the source you want to preserve, extend only the space your layout requires, and inspect every important edge before publishing. If you want to create more room around a portrait or product image, try Uncrop Image AI on a copy of your photo and compare the expanded result with the original before you use it in a live design.
FAQ
Is Firefly Image 3 still available for Photoshop Generative Expand?
Adobe announced that Firefly Image 3 was removed from the Photoshop model picker on April 28, 2026 and would be fully removed from Generative Fill and Generative Expand workflows in August 2026. Adobe recommends Firefly Fill & Expand for those workflows.
Can AI widen a photo without changing the subject?
AI can add space around a photo, but it may still alter nearby details. Keep the original, compare the subject and boundary areas against it, and reject a result if identity, product details, geometry, or readable text changes.
What should I inspect after expanding a portrait?
Check the face, hairline, ears, shoulders, jewelry, hands, clothing patterns, shadows, and the join between the original image and the new canvas. Then view the result at the size where it will actually be used.
Should I use expanded product photos in a store?
Only if the product remains faithful to the source. Verify the shape, color, material, label, logo, controls, and included parts. If any of those details change, treat the result as a creative visual rather than an accurate product listing image.
