Optimize Product Images for Google Lens and Shopping
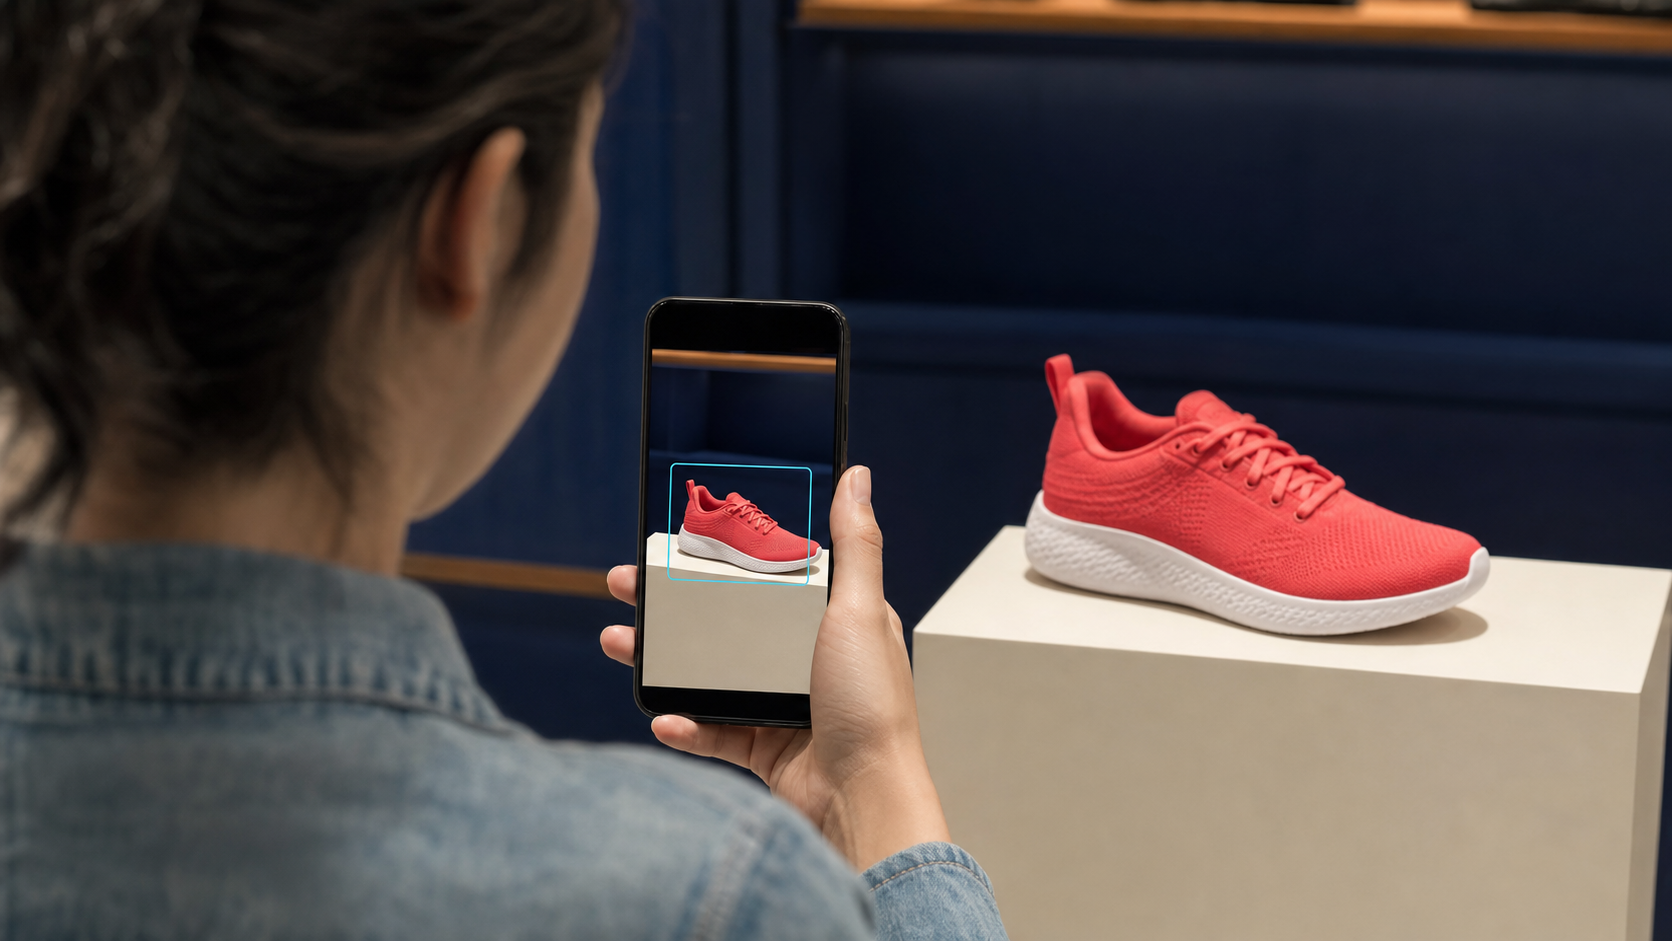
Google Lens lets shoppers begin with an object instead of a product name. A person can photograph a bag, lamp, pair of shoes, or item in a video and look for visually related products, prices, reviews, and places to buy. Google has also placed relevant shopping ads in some Lens results, which makes product imagery part of both discovery and paid retail visibility.
There is no separate “Lens image file” to optimize. The practical job is to give Google accurate product data and images that clearly represent the item. The same assets may be used across free listings, Shopping ads, product results, and visual discovery, so technical compliance and visual clarity need to work together.
Begin with Merchant Center requirements
The main product image is submitted through the image_link attribute. The URL must point directly to a supported image format, remain crawlable, and stay stable. When an image URL changes, Google needs to crawl and evaluate the new asset again.
Google has announced a minimum size of 500 by 500 pixels for all product images, with enforcement beginning January 31, 2027. Merchant Center began showing warnings for smaller images in July 2026. Google recommends images around 1500 by 1500 pixels or larger when possible, with limits of 64 megapixels and 16 MB.
Those are eligibility constraints, not a creative brief. A technically accepted image can still be a poor visual-search asset if the product is tiny, obscured, or presented in the wrong variant.
Make the main product unmistakable
Google's image guidance recommends that the product occupy roughly 75% to 90% of the image area. The entire item should be visible, without unrelated accessories that are not sold with it. The main image should show one unit unless the listing represents a multipack or bundle.
For a visual query, the system and the shopper both need recognizable shape, material, color, and construction. A white sneaker photographed as a small prop in a complex lifestyle scene gives less direct evidence than a clean product view. Lifestyle photography can still be useful, but it is usually better supplied as an additional image.
Use the exact variant named in the feed. A green chair should not inherit the photograph of its blue sibling. Color, pattern, size-dependent construction, and included components must agree with the product data and landing page. This is both a policy requirement and a basic retrieval signal.
Do not add promotional overlays
Merchant Center rejects main images with promotional content that covers or competes with the product. That includes calls to action, prices, shipping claims, watermarks, retailer logos, borders, and barcodes. Text baked into an image also becomes fragile when Google crops or reformats the asset.
Keep commercial claims in the feed and landing page. Let the image describe the product itself. A label that is physically printed on the product may remain, but an added badge saying “best seller” should not.
If a source image contains a distracting background, prepare a controlled derivative rather than painting over the subject. The Remove Background tool is useful when the product edge can be preserved accurately, while the Product Photo tool can help create consistent catalog scenes.
Use additional images to supply context
The additional_image_link attribute is the right place for alternate views, close details, packaging, scale references, and lifestyle context. These images should add information rather than repeat the main angle with minor changes.
For a handbag, a useful set might include the clean front view, back, interior compartments, material close-up, and an on-body image. For furniture, include side and rear construction, a detail of the finish, and a room scene that communicates scale. Visual-search systems gain more evidence, while shoppers can verify the match before clicking.
Do not combine multiple variants into one collage for the main image. Submit each variant with its own correct image and use additional views within that listing. The article on Pinterest visual search and ranking provides a related lesson: visual retrieval and recommendation depend on the quality and organization of the underlying catalog.
Preserve real detail during enhancement
Low-resolution images should not be enlarged blindly. Upscaling can improve presentation when the source contains recoverable detail, but it cannot prove the texture or construction of a product that was never captured. Review labels, stitching, ports, fasteners, patterns, and edge geometry after enhancement.
A useful quality-control method compares the enhanced asset with the original at the same viewing size. Check that the product has not changed shape and that small repeated details remain consistent. The Upscale tool can prepare a larger derivative, but the approved source should remain the reference.
For transparent or very light products, test the file on both light and dark backgrounds. Google notes that transparent backgrounds can display poorly for light-colored products. A solid white background is often safer for the primary listing.
Keep image URLs stable and crawlable
An image pipeline should produce a durable canonical URL for each approved product asset. Avoid URLs with short-lived signatures, session parameters, or timestamps that change on every export. Allow Googlebot and Googlebot-Image to fetch the file, return the correct content type, and avoid redirects that depend on cookies or geography.
When an image changes materially, update the asset deliberately and monitor Merchant Center diagnostics. Do not rotate URLs as a cache-busting habit. A stable versioned path, such as a product ID plus an asset revision, gives teams control without forcing unnecessary reprocessing.
For large catalogs, automate the checks before a feed is submitted: supported format, dimensions, file size, aspect ratio, subject occupancy, alpha bounds, and variant agreement. The batch patterns in the Make.com image workflow guide can be adapted to catalog validation even when Make is not the final orchestration platform.
Measure the catalog, not a visual-search myth
There is no useful optimization score for “looking like Lens.” Track concrete outcomes instead: Merchant Center image warnings and disapprovals, crawl failures, product-level clicks, conversion rate, and the performance of main versus additional image sets.
Run controlled tests on representative categories. A fashion catalog may benefit from on-model additional images, while a replacement-parts catalog needs precise shape and connector views. Preserve the listing data and price conditions during an image test so the result is not confused with other changes.
The winning strategy is straightforward: accurate product data, a crawlable high-resolution main image, correct variants, informative additional views, and restrained enhancement. Those practices improve eligibility and make the product easier for both people and visual systems to identify.
