The Rise of Prosumer AI: How Authentic Modes are Changing Photo Restoration
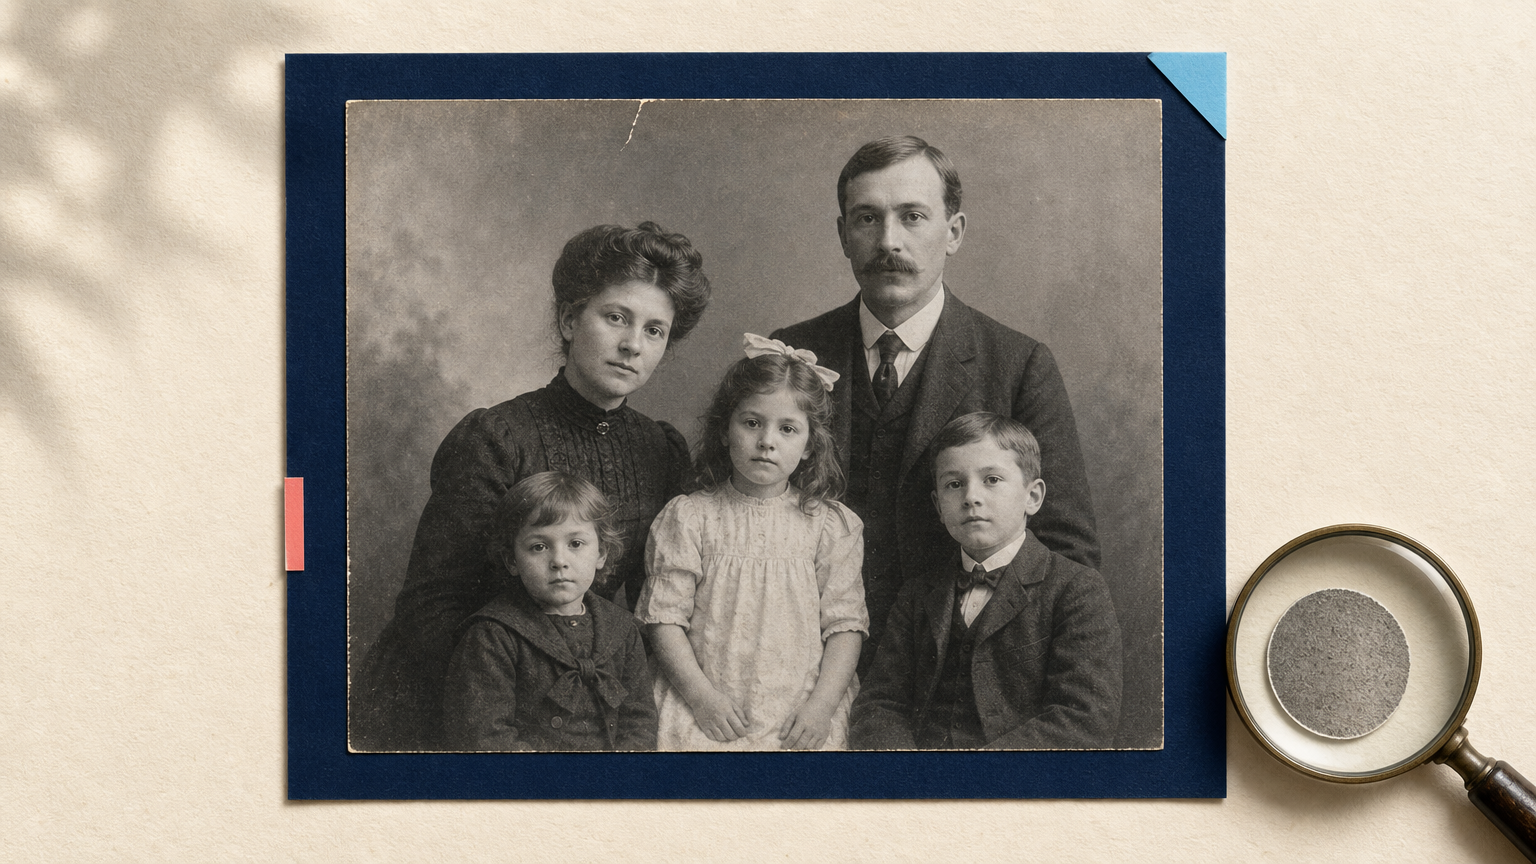
For many photographers and family archivists, the most convincing restoration is not the one that makes an old photograph look brand new. It is the one that makes the photograph easier to see while it still looks like it came from its own time.
That expectation is shaping a more careful kind of AI photo restoration authentic mode: a restoration approach that aims to reduce damage without flattening film grain, changing a person's features, or replacing the character of an aged print with a polished digital look. It sits between a quick consumer filter and a specialist conservation workflow, which is why it is especially relevant to prosumers: serious hobbyists and independent creators who want more control than a one-click fix.
The phrase “authentic mode” is not a universal technical standard. Different tools use different controls and names. The useful idea is consistent: preserve what belongs to the original image, repair what is clearly damage, and treat uncertain reconstruction as an editorial decision rather than an automatic upgrade.
Why the plastic restoration look is losing appeal
Older AI restoration workflows often pursued immediate visual impact. Heavy noise reduction could make a faded face appear crisp at first glance, but it could also erase pores, soften hair into painted shapes, and turn photographic grain into a smooth digital surface. Strong sharpening then amplified edges that were never meant to be prominent.
Those results are easy to spot once you know what to look for. Skin can appear waxy. Fabric loses weave and wear. Shadows become too clean. A face may remain recognizable while small identity cues, such as the shape of an eyelid, a wrinkle, or a hairline, start to drift.
For a casual social-media image, that may be acceptable. For a family portrait, documentary photograph, or personal archive, it can be the wrong tradeoff. The source is not merely raw material for a prettier image. It is evidence of a person, a place, a photographic process, and a moment in time.
What an authentic restoration mode should protect
An authenticity-first workflow begins by separating image character from image damage. This is not always simple. A scratch across a face is damage. Fading caused by age may be damage. But film grain, slight softness from the original lens, paper texture, and period-specific tonal rendering may be part of the photograph's character.
Good restoration decisions depend on the particular image, but several priorities are broadly useful:
- Identity: Keep facial proportions, expression, asymmetry, and recognizable details close to the source.
- Texture: Retain natural grain and material detail instead of replacing them with a uniform smooth surface.
- Composition: Preserve the original crop, pose, perspective, and lighting unless there is a clear reason to change them.
- Historical cues: Avoid modern-looking color, contrast, skin treatment, and invented objects that do not belong in the source.
- Uncertainty: Mark a reconstruction as interpretive when missing detail cannot be verified from the photograph.
This approach does not mean leaving every imperfection untouched. It means using the least aggressive change that solves the visible problem.
Why prosumers need control, not just a stronger filter
Professional conservators can document every intervention and work from multiple reference sources. Most personal archivists cannot. They may be scanning a box of family prints, preparing images for a local-history project, or restoring a portfolio of analog work. They still need a way to make deliberate choices.
That is where prosumer workflows differ from fully automatic restoration. The goal is not to expose every technical setting. It is to offer meaningful control at the moments that matter: how strongly to clean surface damage, whether to protect texture, how much detail recovery is appropriate, and when a face needs a closer review.
An AI Enhancer Studio workflow can be useful for creating a working derivative from a scanned original. Start conservatively and compare the result with the source at full size. If the original scan is too small for display or print, AI Image Upscale can help create a larger derivative, but enlargement should not be treated as proof that lost details have been recovered.
A practical authenticity-first restoration workflow
- Preserve the master scan. Save the best available scan or photograph of the original before editing. Keep it unchanged, with any scan notes and known provenance.
- Correct capture problems first. Rotate, crop carefully, and fix obvious exposure or color-cast issues before applying a strong restoration pass.
- Repair limited damage. Address dust, isolated spots, small scratches, and folds while watching for lost hair, handwriting, jewelry, or edge detail.
- Use detail enhancement with restraint. Inspect faces, clothing, signage, and patterned backgrounds separately. If a result looks cleaner but less believable, reduce the effect.
- Compare at two scales. View the image at 100 percent to check texture and at normal viewing size to assess the overall photograph. A restoration can fail at either scale.
- Export a clearly named derivative. Keep the original and restored versions separate. If you create a colorized or reconstructed variant, identify it as such in the filename or archive notes.
This kind of review is slower than accepting the first dramatic result, but it is usually faster than trying to undo an overly processed image later.
Film grain is not a defect by default
Grain is frequently mistaken for digital noise because both appear as fine variation across an image. They are not interchangeable. Film grain is part of how an analog photograph recorded light, and its appearance varies with the film stock, exposure, development, and scan. Removing it completely can make a historical photo feel detached from its medium.
The aim is not to preserve every mark indiscriminately. Severe scan noise, compression blocks, and chemical damage may obscure the picture rather than describe it. The key question is whether a texture supports the source's photographic character or competes with it. When the answer is uncertain, keep a lighter restoration and create a second, more interpretive version only when it serves a specific use.
For a deeper discussion of the boundary between evidence and reconstruction, see faithful restoration versus creative AI upscaling. The same distinction matters whether you are working on a 1930s family print or an early digital photo with compression artifacts.
Authenticity is also a record-keeping practice
A credible restoration is more than an output file. It has a simple trail: which file was the source, what was changed, and which areas required interpretation. This can be as lightweight as a folder containing the master scan, the restored derivative, and a short note describing the process.
For larger collections, add dates, scanner settings, ownership or rights information, and notes about people or locations. If a face or missing area was reconstructed, record that separately from routine cleanup. That clarity matters when images are shared with relatives, researchers, or future collaborators who may otherwise mistake a generated detail for original evidence.
Where Deep-Image.ai fits in a careful restoration process
Deep-Image.ai can support the enhancement stage of a restoration workflow, but it should not replace source preservation or visual judgment. Use a working copy, evaluate the result against the original, and stop when extra processing starts to change the image's character instead of improving legibility.
If your project includes vintage photos intended for motion, restore the still image first and keep the animation as a separate derivative. Our guide to animating restored vintage photos explores that next step. For archival restoration itself, the priority remains the still source and an honest account of what has changed.
If you want to test an authenticity-first workflow, begin with one scanned photograph and make two restrained versions rather than one aggressive result. Compare both to the original, keep the version that preserves the photograph's character, and retain every derivative alongside the master.
FAQ
What is an authentic mode in AI photo restoration?
It is a general approach to restoration that prioritizes preservation of identity, texture, grain, composition, and historical character while removing clear damage. It is not a universal feature name or a guarantee that every output is historically accurate.
Should AI restoration remove film grain?
Not automatically. Some grain is a meaningful part of an analog image. Remove distracting damage or scan noise carefully, then assess whether the remaining texture still reflects the original photograph.
Can AI restore missing details in an old photo?
AI can create a plausible reconstruction, but it cannot verify information that is no longer visible in the source. Treat reconstructed details as interpretive, especially around faces, text, uniforms, and historically important objects.
What is the safest way to restore family photographs?
Keep an untouched master scan, work on copies, use moderate adjustments, compare every result with the original, and save restored or reconstructed versions as separate files.
Better restoration is not always more restoration
The rise of prosumer AI photo restoration is not about making every old image look newly photographed. It is about giving more people a practical way to clean, enlarge, and share meaningful images without erasing the visual evidence that makes them meaningful in the first place.
Authentic modes offer a useful direction: repair with care, preserve texture, document uncertainty, and let the original photograph remain visible beneath the improvement.
