Integrating AI Image Enhancement into Mobile Apps Using React Native and APIs
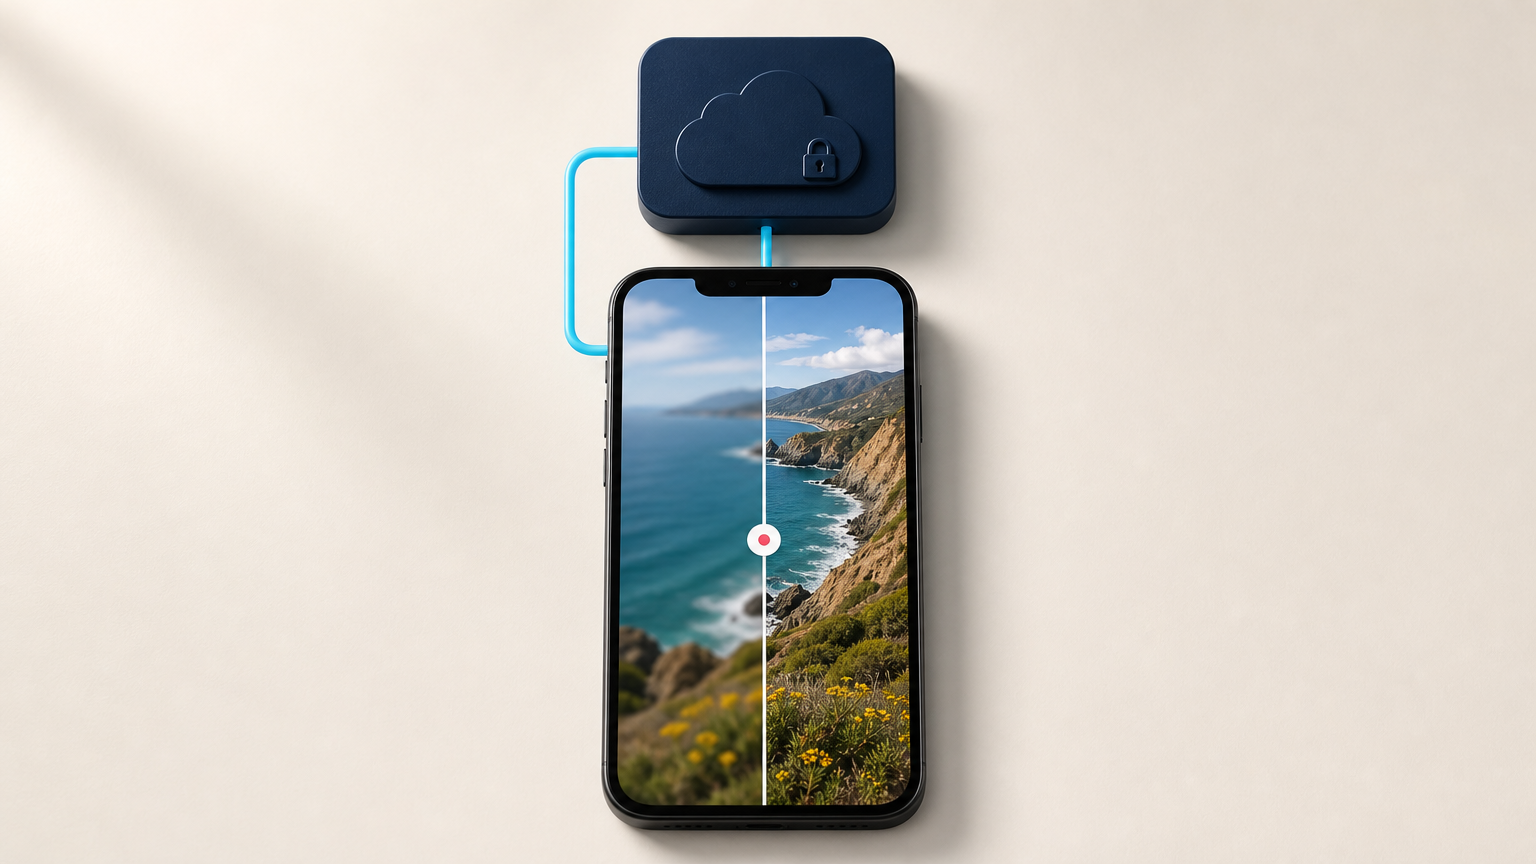
Adding AI photo enhancement to a mobile app does not require shipping a model with the application. A React Native image API workflow can keep the app focused on capture, upload, progress, and display, while cloud processing handles the heavier image work.
This tutorial outlines a secure integration pattern for a React Native app that sends an image to your backend, starts a Deep-Image.ai processing job, checks its state, and returns the finished image to the device. It assumes you are comfortable with React Native networking, a small server-side API, and JSON.
What the mobile app should and should not do
A mobile app is a good place to select a photo, show a preview, compress an upload when appropriate, and give the user clear processing feedback. It is not the place to store a long-lived third-party API key. Anything embedded in a distributable app can be extracted, so requests to an image-processing provider should pass through a backend you control.
That separation also makes it easier to add authentication, usage rules, audit logs, and a consistent error format later. Your React Native client talks to your service. Your service talks to the image API.
Choose an asynchronous flow for a React Native image API
Deep-Image.ai provides a REST API with two processing patterns. The process_result method can return a completed result when processing finishes within its wait window. The process method schedules work and returns a job identifier, which you can check through the result endpoint. For a mobile experience, the scheduled-job pattern is often easier to manage because the UI can show a dedicated processing state rather than holding one request open.
The high-level flow is:
- The user picks or captures an image in React Native.
- The app uploads the image to your backend.
- Your backend stores it temporarily or makes it available at a controlled URL.
- Your backend submits the image URL and enhancement settings to Deep-Image.ai.
- The API returns a job reference.
- The app polls your backend for the job state, or your backend receives a webhook and records completion.
- The app receives a final image URL and renders the result.
This keeps API credentials and provider-specific responses off the device while giving you one stable contract for future providers or processing modes.
Build a small backend boundary
Create two endpoints in your own service:
POST /api/image-jobsaccepts an authenticated upload and enhancement choices, then creates a provider job.GET /api/image-jobs/:idreturns a small, app-friendly status object such asqueued,processing,complete, orfailed.
Internally, the server can call https://deep-image.ai/rest_api/process with the API key in the x-api-key header. The request can include an input url, output dimensions, and an enhancements array. Deep-Image.ai documents enhancement options such as denoise, deblur, light, and color. Use only the settings that your product can explain clearly to users.
// Server-side example: keep this code on your backend, not in React Native
const providerResponse = await fetch('https://deep-image.ai/rest_api/process', {
  method: 'POST',
  headers: {
    'content-type': 'application/json',
    'x-api-key': process.env.DEEP_IMAGE_API_KEY,
  },
  body: JSON.stringify({
    url: uploadedImageUrl,
    width: 1600,
    enhancements: ['denoise', 'deblur', 'light'],
  }),
});

const providerJob = await providerResponse.json();
// Save providerJob.job against your own job record before returning to the app.
Do not expose the provider job ID as the only identifier your app understands. Map it to an application job ID so you can change backend behavior without forcing a mobile release.
Send an image from React Native
Use the image picker or camera library already established in your project. Once you have a local URI, upload the file as multipart form data to your own backend. The exact file object varies by library and platform, so treat the snippet as a pattern rather than a drop-in component.
const form = new FormData();
form.append('image', {
  uri: asset.uri,
  name: asset.fileName ?? 'upload.jpg',
  type: asset.mimeType ?? 'image/jpeg',
});
form.append('preset', 'mobile-enhance');

const response = await fetch(`${API_BASE_URL}/api/image-jobs`, {
  method: 'POST',
  headers: {
    Authorization: `Bearer ${sessionToken}`,
  },
  body: form,
});

if (!response.ok) throw new Error('Could not create image job');
const { id } = await response.json();
Keep the mobile request focused on your own API. In particular, do not add the Deep-Image.ai key to an environment file that is bundled with the app, and do not rely on client-side obfuscation as a security control.
Translate provider states into a calm mobile UI
The Deep-Image.ai result endpoint reports states including received, not_started, in_progress, and complete. Your backend should translate these into labels that make sense in the product. For example, group the first two under “Queued” and show “Enhancing photo” for in-progress work.
Poll your own GET /api/image-jobs/:id endpoint at a measured interval while the screen is active. Stop polling when the job is complete or failed, when the user leaves the screen, or when the app moves to the background. If your backend uses a provider webhook, it can update the job record without keeping a polling worker alive.
async function waitForImageJob(id) {
  const response = await fetch(`${API_BASE_URL}/api/image-jobs/${id}`);
  const job = await response.json();

  if (job.status === 'complete') return job.resultUrl;
  if (job.status === 'failed') throw new Error(job.message ?? 'Image processing failed');

  await new Promise(resolve => setTimeout(resolve, 1500));
  return waitForImageJob(id);
}
In production, replace simple recursion with cancellation-aware logic tied to component lifecycle. A result screen should also retain the original image so a user can compare or retry instead of losing their starting point.
Handle uploads and results deliberately
Image files are usually the largest part of this workflow. Before uploading, decide which original quality you need for the intended output. Avoid sending several versions of the same image, and make your backend reject files that exceed the limits you are prepared to store and process. If the image is private, use a short-lived, access-controlled URL rather than a permanently public file URL.
When the job finishes, copy or proxy the result into storage you control if your product needs durable access rules. That also gives your app a predictable CDN domain and lets you clean up temporary input files on a schedule.
Make enhancement choices understandable
A technical API can expose many parameters, but a mobile editing screen should not force users to understand each one. Start with a small set of product-level choices such as “Improve clarity” or “Fix low light,” then let your backend map those choices to reviewed API settings.
For a no-code check of how enhancement settings affect a sample image, teams can use AI Enhancer Studio. For API implementation details, keep the Deep-Image.ai API documentation close to the backend codebase. If your app also needs a separate cutout workflow, the Remove Background API guide covers that use case.
Test the failure paths before launch
Happy-path demos hide the decisions that matter in an app. Test lost connectivity during upload, expired app sessions, malformed files, provider errors, a result that takes longer than expected, and the user closing the screen halfway through processing. Your app should explain what happened in plain language and give the user a clear retry path.
Also test with real device photos, not only small simulator assets. Portraits, low-light photos, panoramas, and images with metadata can reveal memory and upload behavior that is easy to miss on a desktop connection.
FAQ
Can a React Native app call an image enhancement API directly?
It can technically make an HTTP request, but placing a provider API key in a distributed mobile app is not a safe production design. Use a backend as the credential boundary.
Should I use a synchronous or asynchronous image API request?
Use the synchronous option for short, controlled interactions when the result is likely to arrive quickly. Use an asynchronous job flow when you need resilient progress states, retries, or background-aware behavior.
How do I show enhancement progress in the app?
Have your backend map provider states to a small set of user-facing states. Poll the backend while the processing screen is active, or update the backend through a webhook and let the app check the stored status.
How can I keep the app bundle small?
Keep the AI processing in the cloud and send only the image plus the settings your workflow requires. The app still needs an upload and preview experience, but it does not need to contain an image-enhancement model.
Start with one reliable image workflow
A strong React Native image API integration is less about a complex client and more about clear boundaries: the app handles the experience, your server protects credentials and owns job records, and the cloud service processes the image. Start with one enhancement preset, a clear status screen, and well-tested retry behavior. You can expand the workflow after the core path is reliable.
If you are ready to implement the server side, review the Deep-Image.ai API documentation and build a small test endpoint before connecting it to your production app.
